
Tag: video
-
scanlime043 – Diode Zone
What is Diode Zone? It’s a video site, a PeerTube instance, a friendly place you can post videos, and you can find out more in this collection of unscripted explanations from earlier live streams. Thank you so much for watching, subscribing, and sharing my videos. And a special thanks to my supporters on Patreon, where…
-
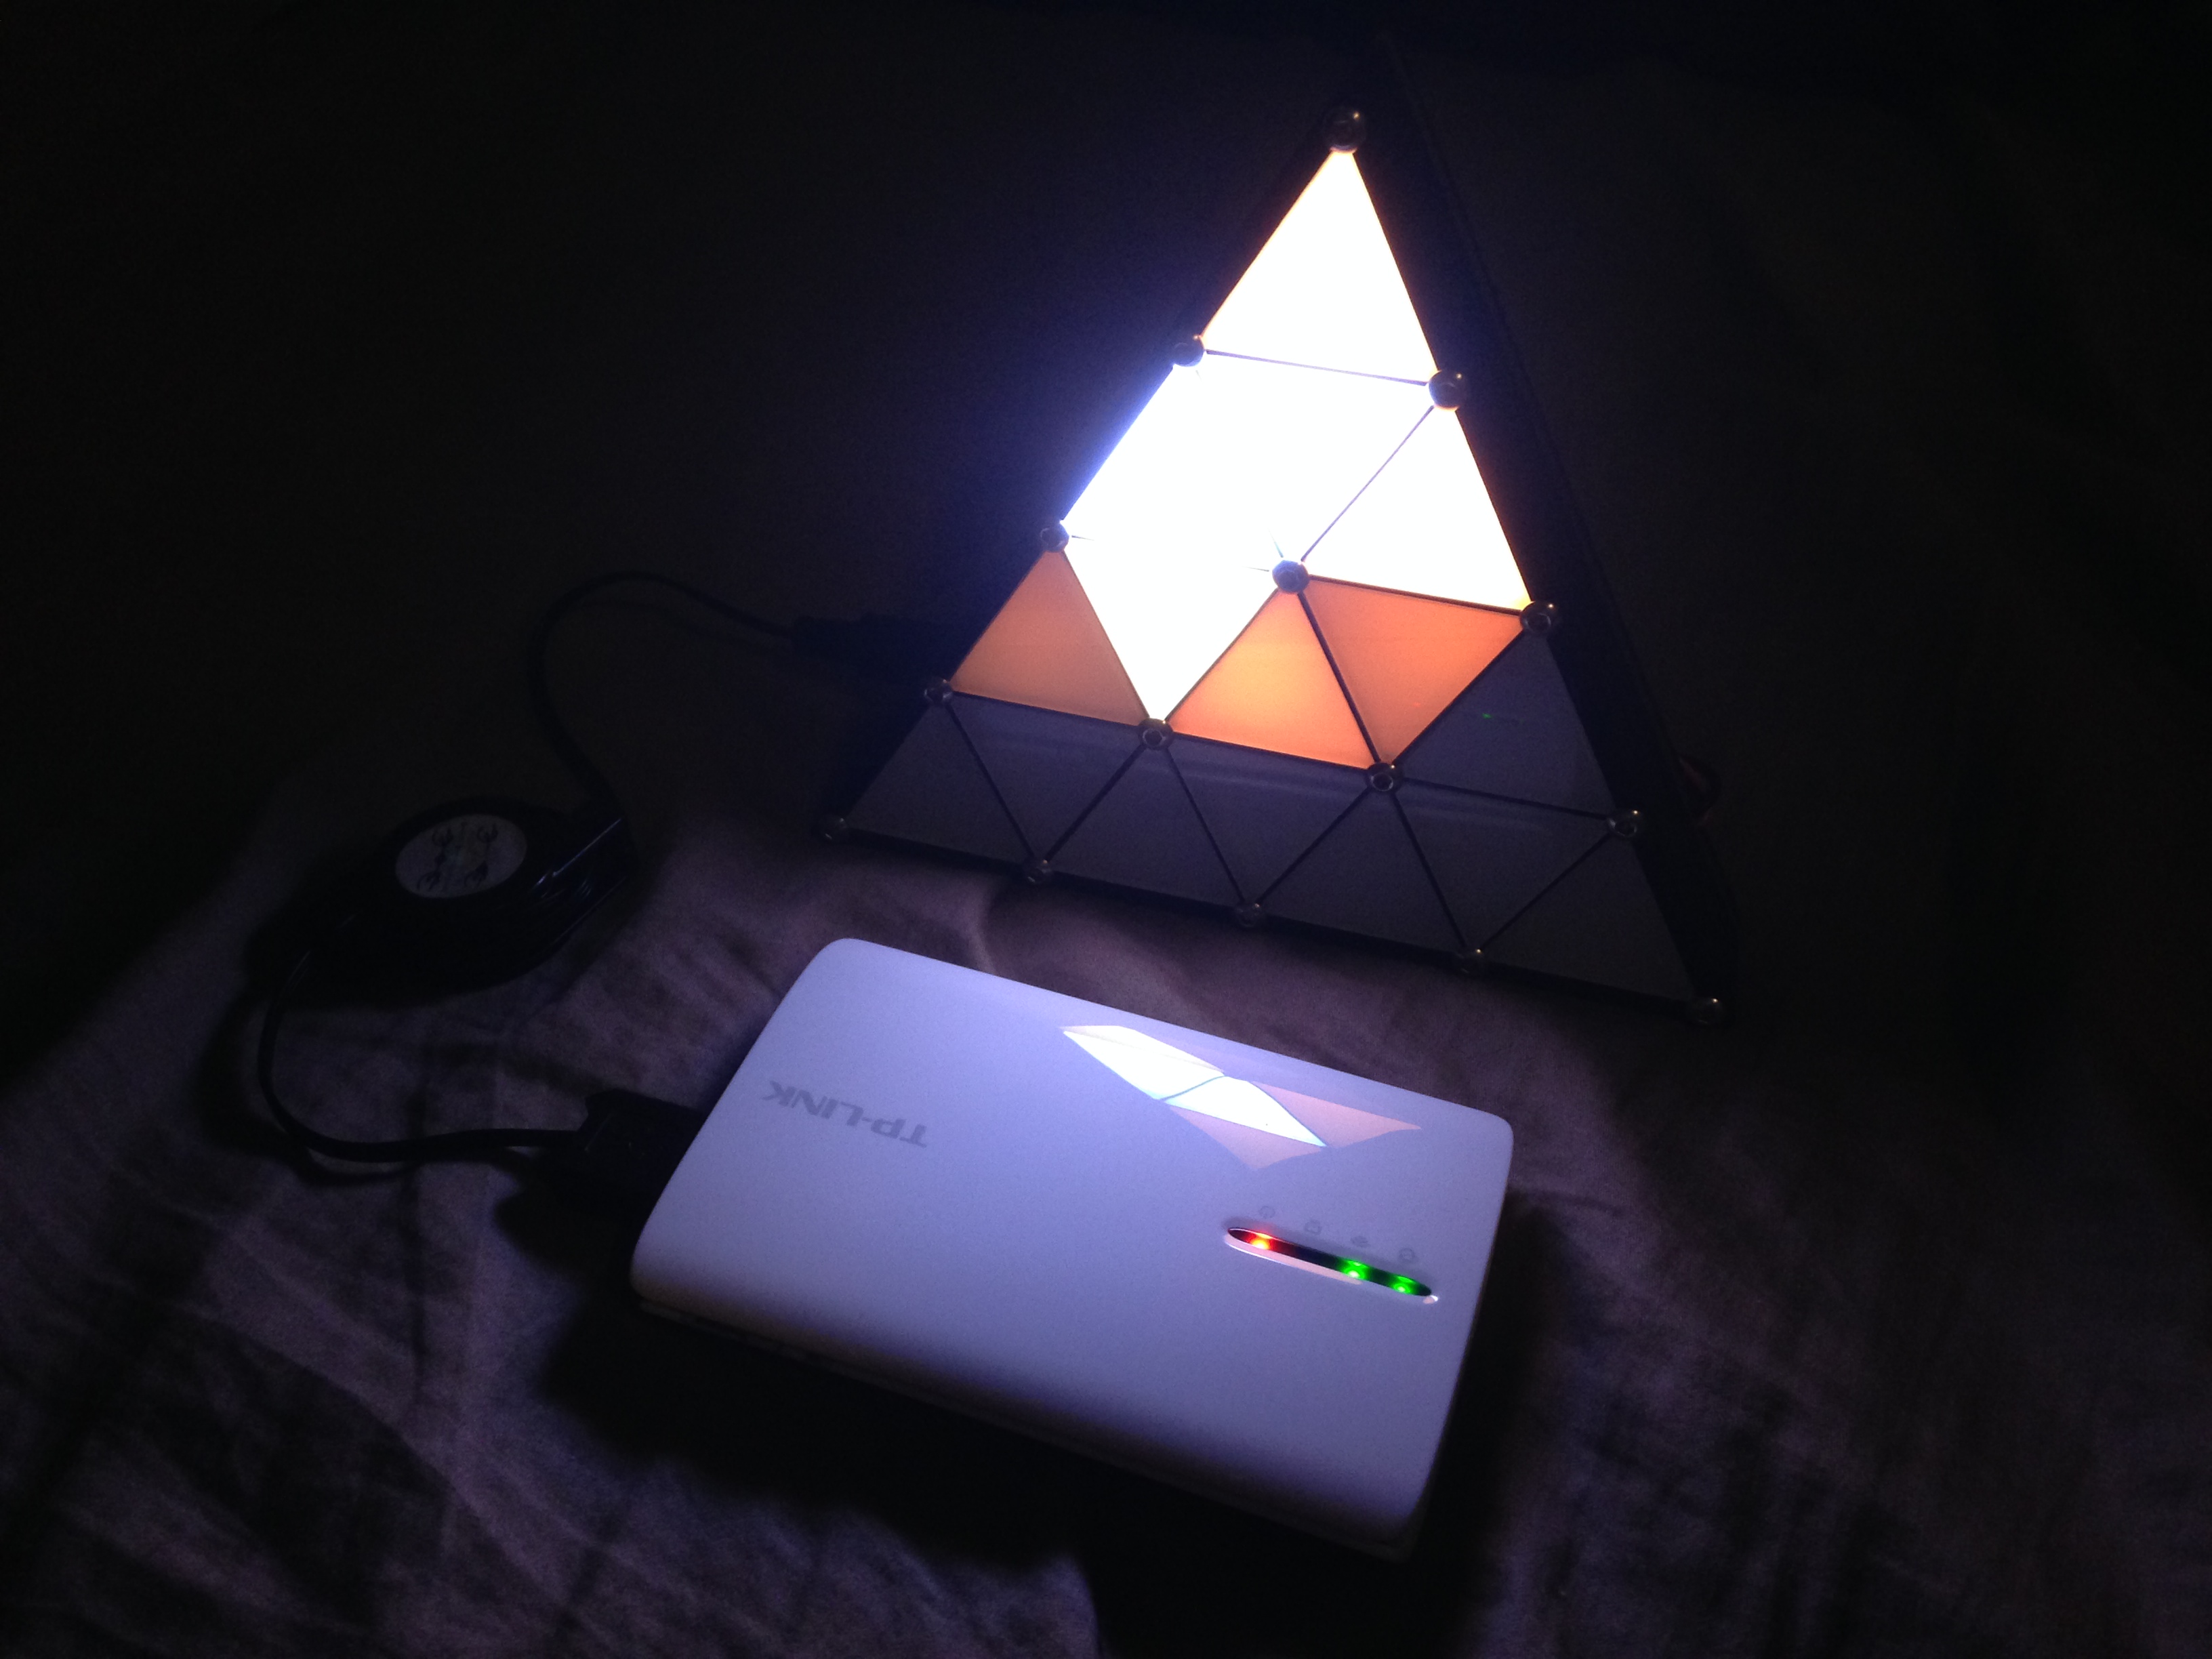
Standalone WiFi Fadecandy server
This week, nemik posted a package for OpenWRT that makes it really easy to run the Fadecandy server on a cheap battery-powered WiFi router. I just got my router in the mail, and I recorded a quick video demo.
-
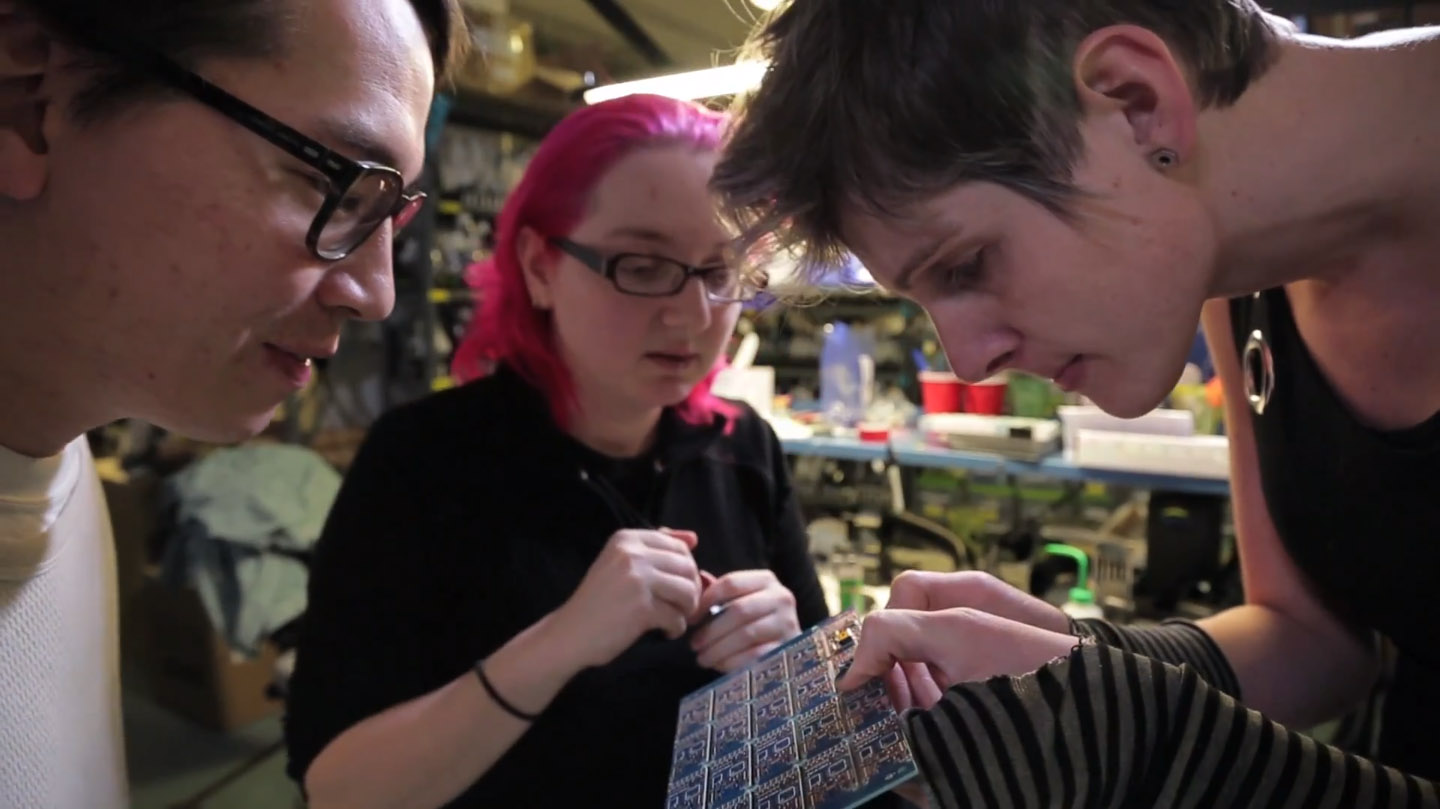
Fadecandy: How it’s made
I was at the Adafruit warehouse in Manhattan a couple weeks back, where we ran the first Fadecandy boards through their assembly line. The boards are now in the Adafruit catalog, and we made a video about the manufacturing process.
-

Presentation at GAFFTA Creative Code Meetup VII
I gave a talk at the GAFFTA Creative Code Meetup back in November. It was a brief overview of my recent work including Zen Photon Garden, High Quality Zen, the Ardent Mobile Cloud Platform, and Fadecandy. It includes a live demo of Fadecandy, starting at 18:43. Creative Code Meetup VII- Micah Elizabeth Scott from GAFFTA…
-
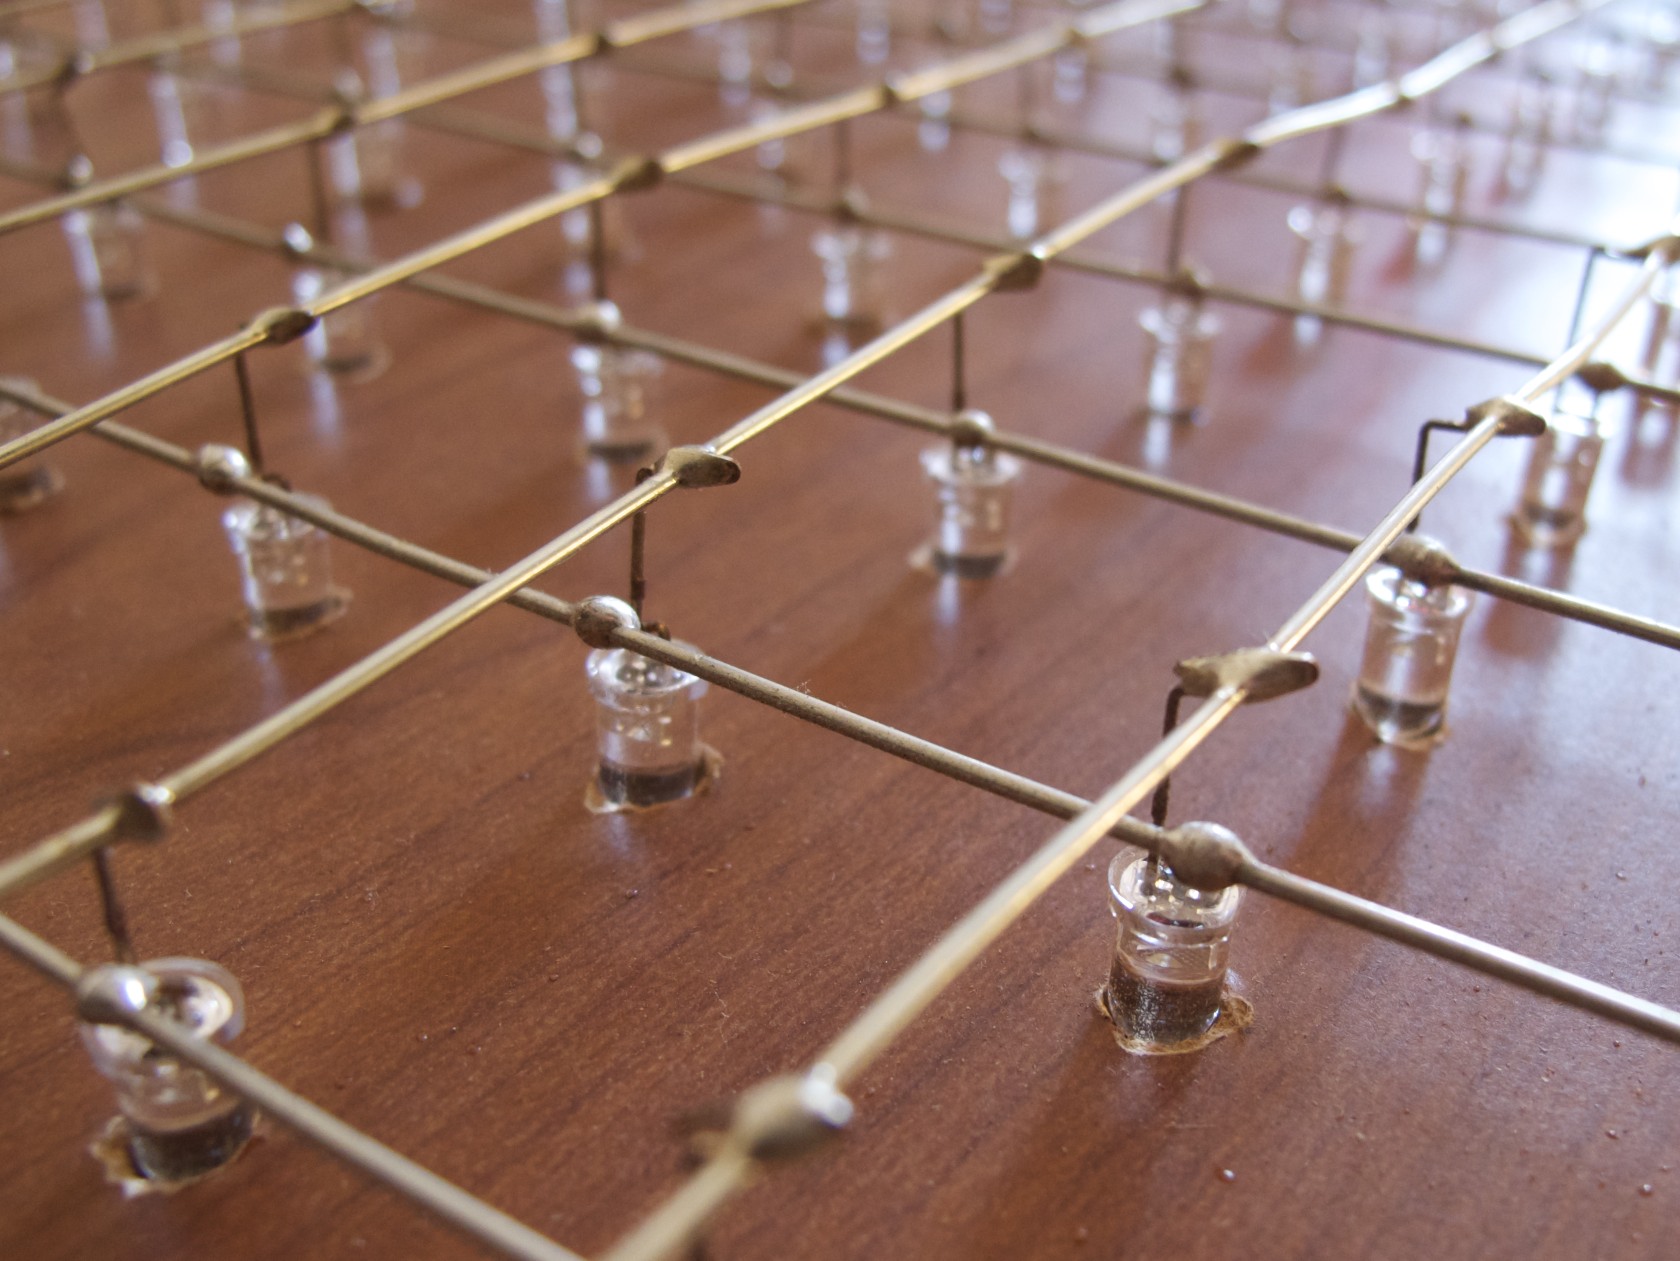
LEDboard/144
This is a 9×16 LED matrix I made by hand back in 2004, with LEDs I had left over from another, even sillier project. It has a USB interface powered by a PIC16C765 microcontroller, one of the first to feature a built-in USB device interface. This video post is something of a eulogy for the…
-
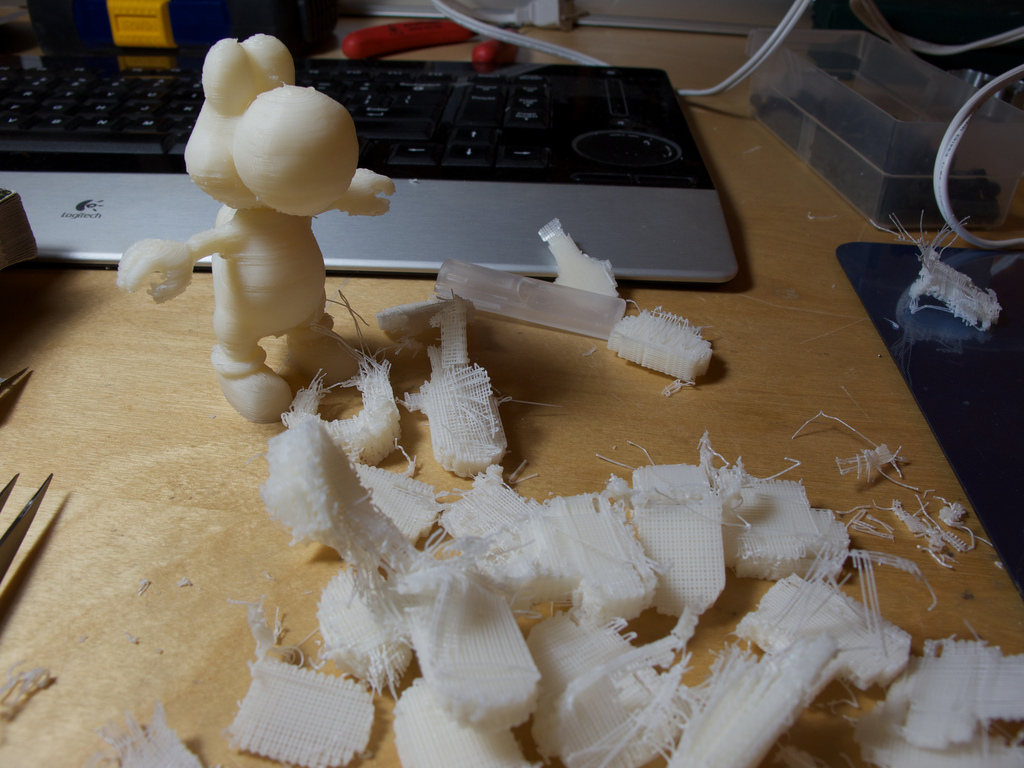
Trying out Skeinforge Support Material
This is a quick photoblog and a video to document my first experience with using the support material options in Skeinforge. This was on my Makerbot Thing-o-Matic with a MakerGear stepper extruder, 0.35mm nozzle, and aluminum/kapton heated build platform. The model I’m printing is Yoshi, the familiar Nintendo character. I cleaned up and subdivided the…
-

Propeller Bluetooth Stack Demo
After going months without a lot of time for working on my hobby projects, I finally had a few free days to work on debugging my embedded Bluetooth stack for the Propeller. I got it working well enough to demo a Serial Port Profile device, implemented using only a Propeller Demo Board and a $2…
-

Gitaroo Man + DDR Pad
As much as I like the long, complicated projects that involve weeks of soldering, gluing, coding, tweaking, re-tweaking and debugging, it’s really refreshing to occasionally do something cool with no more than an hour or two of work. This mini-project was my boyfriend’s idea. It’s an experiment in cooperative two-player Gitaroo Man, played using a…
-
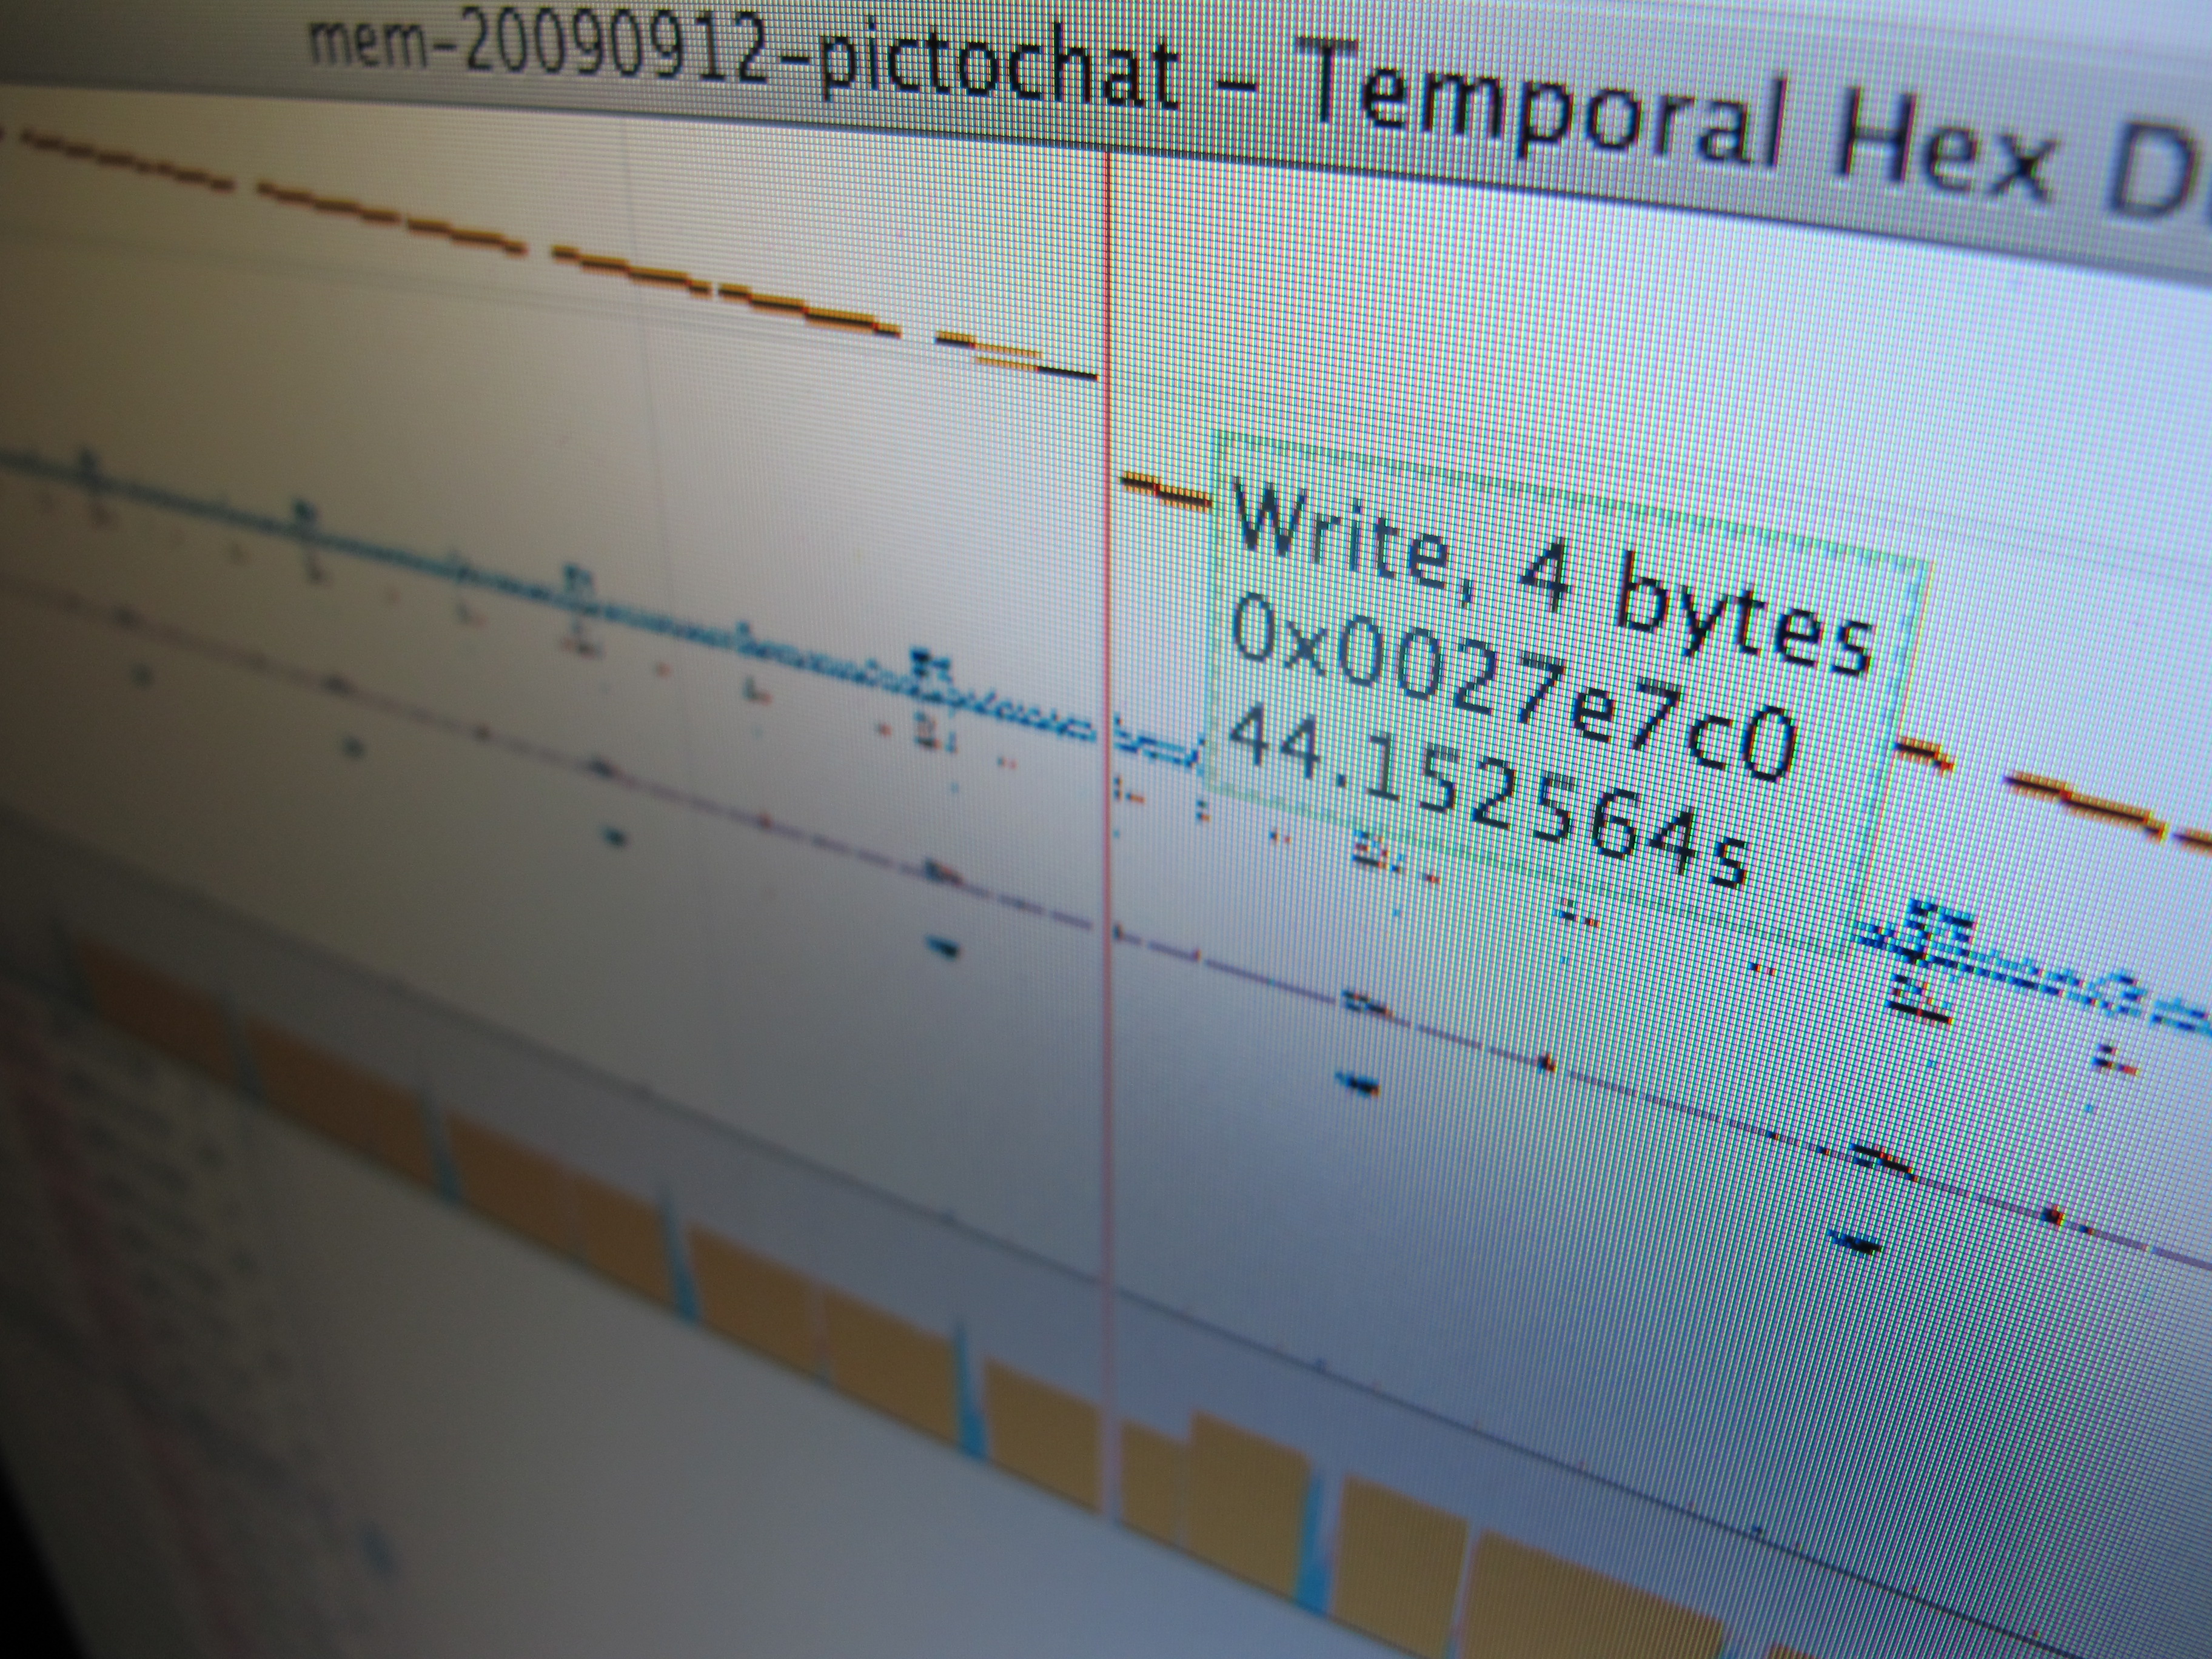
Temporal Hex Dump
After building some hardware to trace and inject data on the Nintendo DSi’s RAM bus, it became obvious pretty fast that there’s a lot of data there, and (as far as I know) no good tools for analyzing these sorts of logs. The RAM tracer has already given us a lot of insight into how…
-
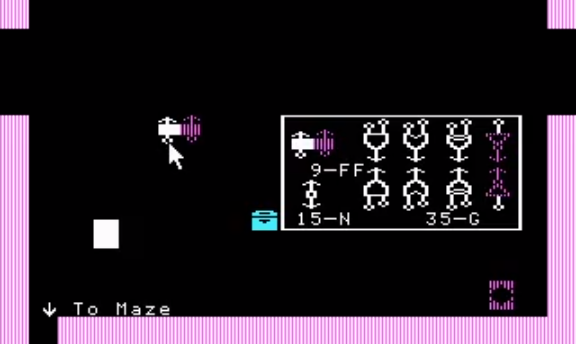
Robot Odyssey Mouse Hack 1
Yesterday I spent some more time reverse engineering Robot Odyssey. This was a great game, and it’s kind of a nostalgic pleasure for me to read and figure out all of this old 16-bit assembly. So far I’ve reverse engineered nearly all of the drawing code, big chunks of the world file format, and most…
-

Robot Odyssey: 4-way low latency flip flop
Robot odyssey rocks. Also, I didn’t realize that you could upload a video captured with VMware Workstation directly to Youtube. It’s pretty neat that they support our video codec. Here’s a video of a chip I was just designing, a low-latency 4-way flip flop.
-
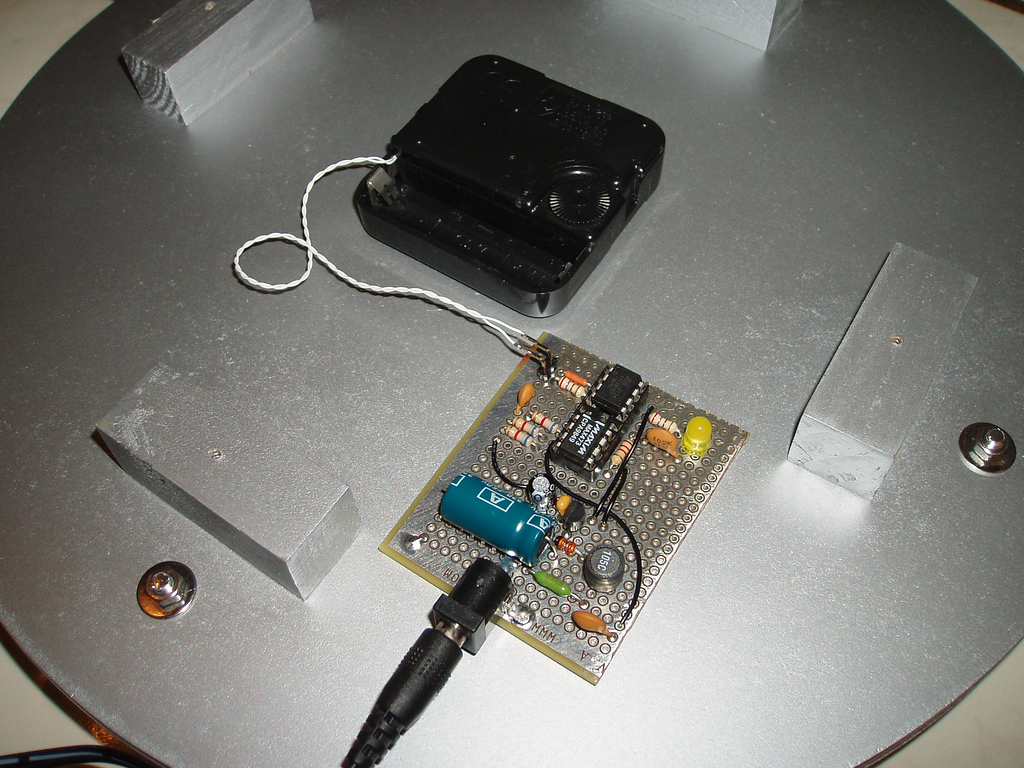
The Kilowatt Clock
I thought I’d try putting together a YouTube video to show my latest crazy project. As usual, the schematic (navi-misc/tedrx/hardware/kwclock-v1-schematic.png) and firmware (navi-misc/tedrx/firmware/kwclock/main.c) is in Subversion.
-
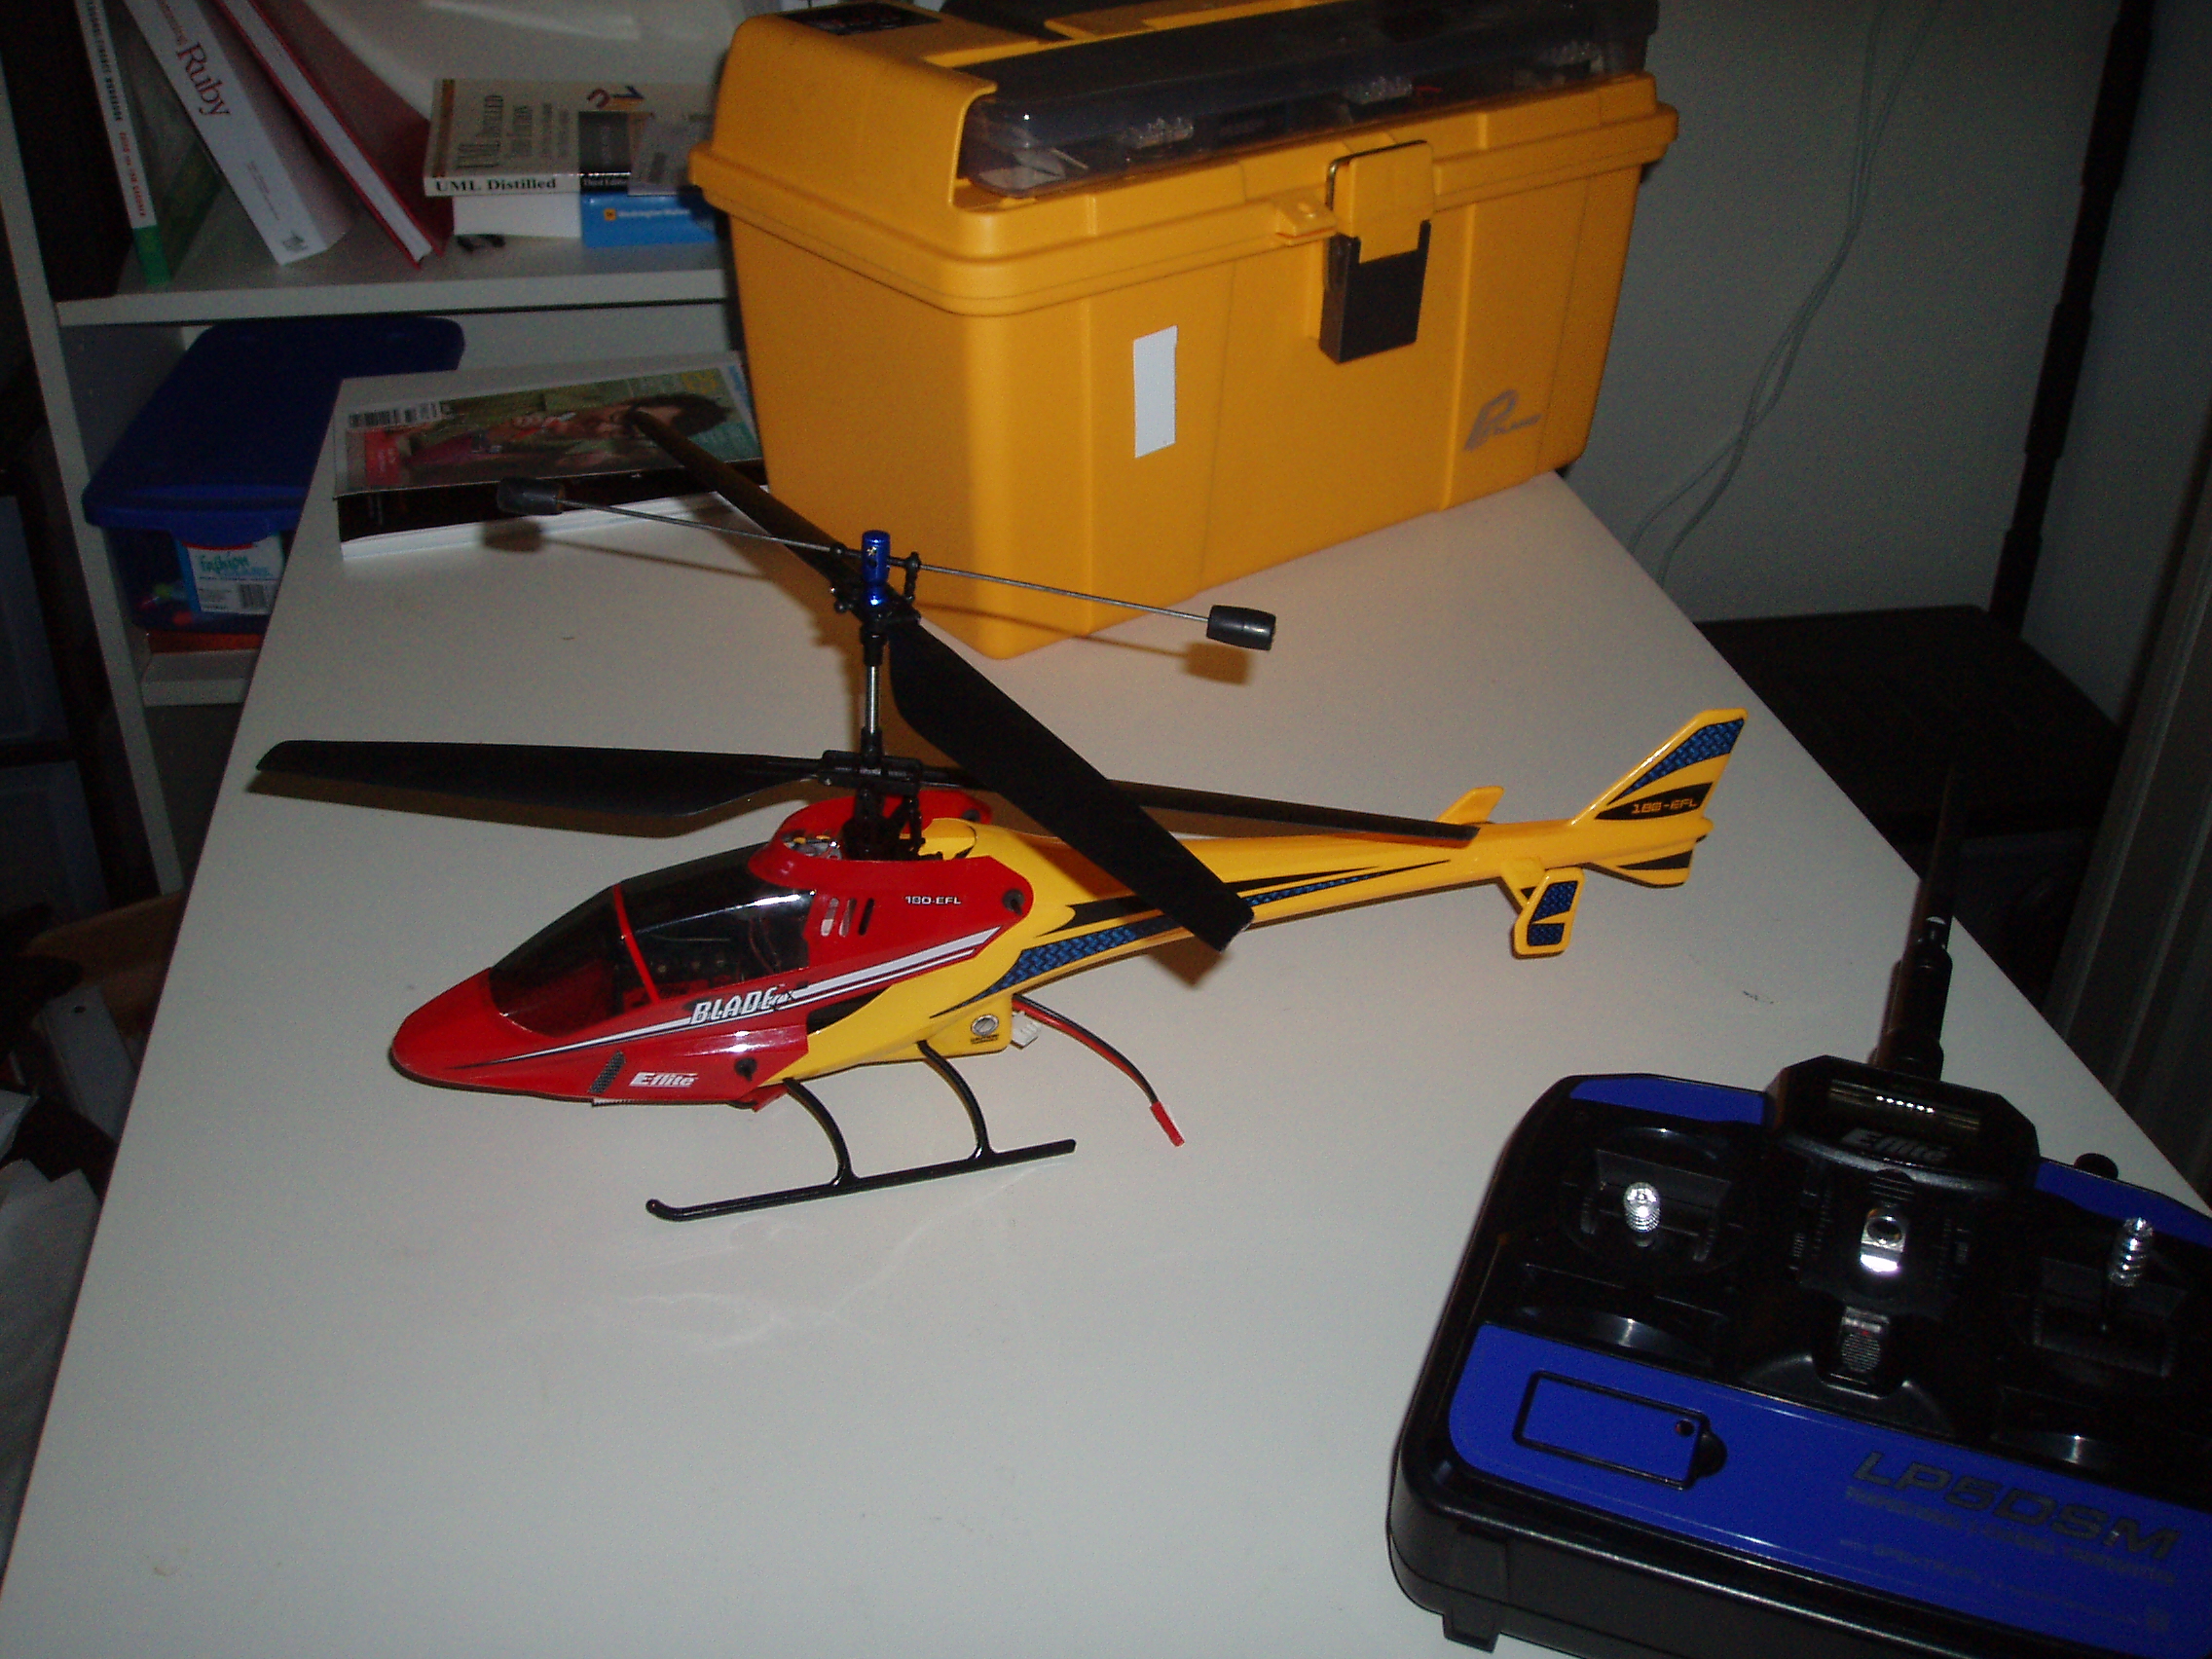
Helicoptering
I’ve been remiss in my duty as blogger extroardinaire. A new hobby, and I haven’t yet informed the world! For the past couple months, I’ve been fascinated by R/C helicopters. As far as I can tell, this all started when I was at Fry’s drooling over the Lego Mindstorms in the toy aisle. The abundance…