
Tag: soldering
-
scanlime034 – Tiny Oven Kit
This cute 3D soldering kit makes for a chill build video. The package comes our way as a crowdfunding reward, from pitching in to help Signal Ditch buy a reflow oven. Now we can all enjoy the sights and sounds of the build, but sadly I can’t share the sweet epoxy fumes. (Please do not…
-
bigclive’s LED Tree – scanlime:025
Join me in assembling a surprise LED lighting kit from bigclive himself! Check out his channel at https://www.youtube.com/user/bigclivedotcom Subscribe to YouTube notifications or follow https://twitter.com/scanlimelive for live streaming announcements. I’m also streaming on Twitch now, at https://twitch.tv/scanlime Please consider supporting me on Patreon so I can keep making these vids! https://www.patreon.com/scanlime
-
Boldport Stringy Synthesizer – scanlime:024
Last month’s Boldport Club kit was a collaboration with Madlab to produce this beautiful little guitar synthesizer kit, the Stringy! You can learn more about the Boldport Club and get your own delighful kits by signing up at https://www.boldport.club/ Please consider supporting me on Patreon so I can keep making these vids! https://www.patreon.com/scanlime Subscribe to…
-
scanlime:014 / Boldport #2 – Superhero
Finally, another Boldport video! This time a short music video based on the Engineer Superhero kit, assembled in original form and in a variant that includes a coin cell to power the LED and a piezo button to charge the 2N7000 MOSFET gate and make the LED glow for a while. The sound track was…
-
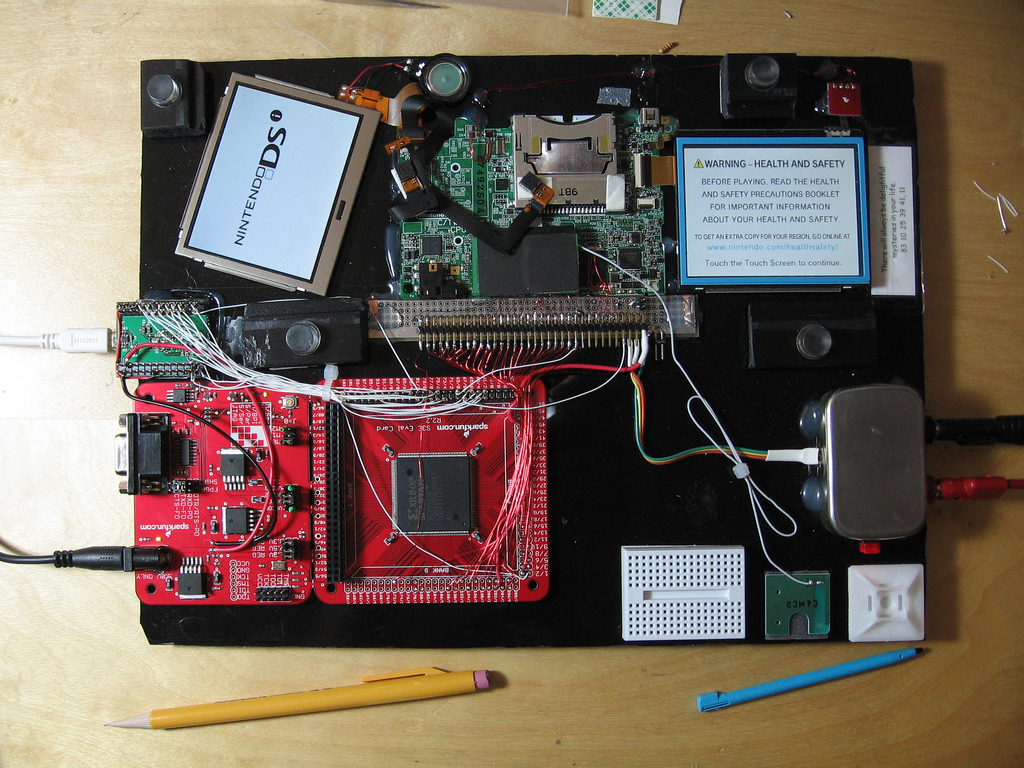
DSi RAM tracing
It seems like a lot of people have been seeing my Flickr photostream and wondering what I must be up to- especially after my photos got linked on hackaday and reddit. Well, I’ve been meaning to write a detailed blog post explaining it all- but I keep running out of time. So I guess a…
-
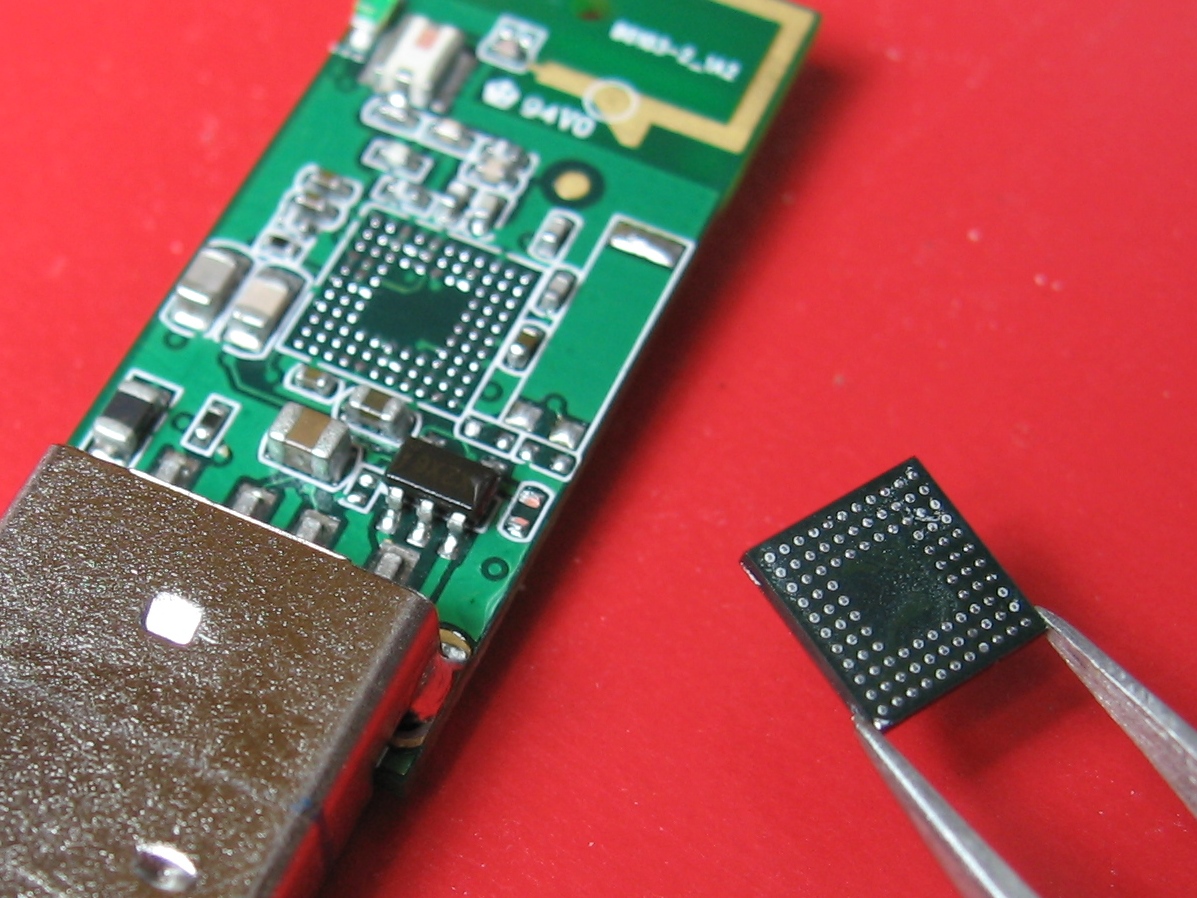
DSi hacking, BGA rework
I got a Nintendo DSi earlier this month. It’s a really cute little console, and a nice revision to the DS Lite. Screens are slightly larger, CPU is about twice as fast, 4x the RAM. And of course it has these camera thingies. Other folks have teardowns online with internal photos aplenty 🙂 So, I…