
Tag: ds
-
November Update
I guess I don’t have a complete blog entry to write on any one thing.. but there are several unrelated things that I feel like writing down. I recently joined Twitter, but I must suck at using it because none of these things ended up there. Life Tragic. Introspective. Complicated. This isn’t really a place where…
-
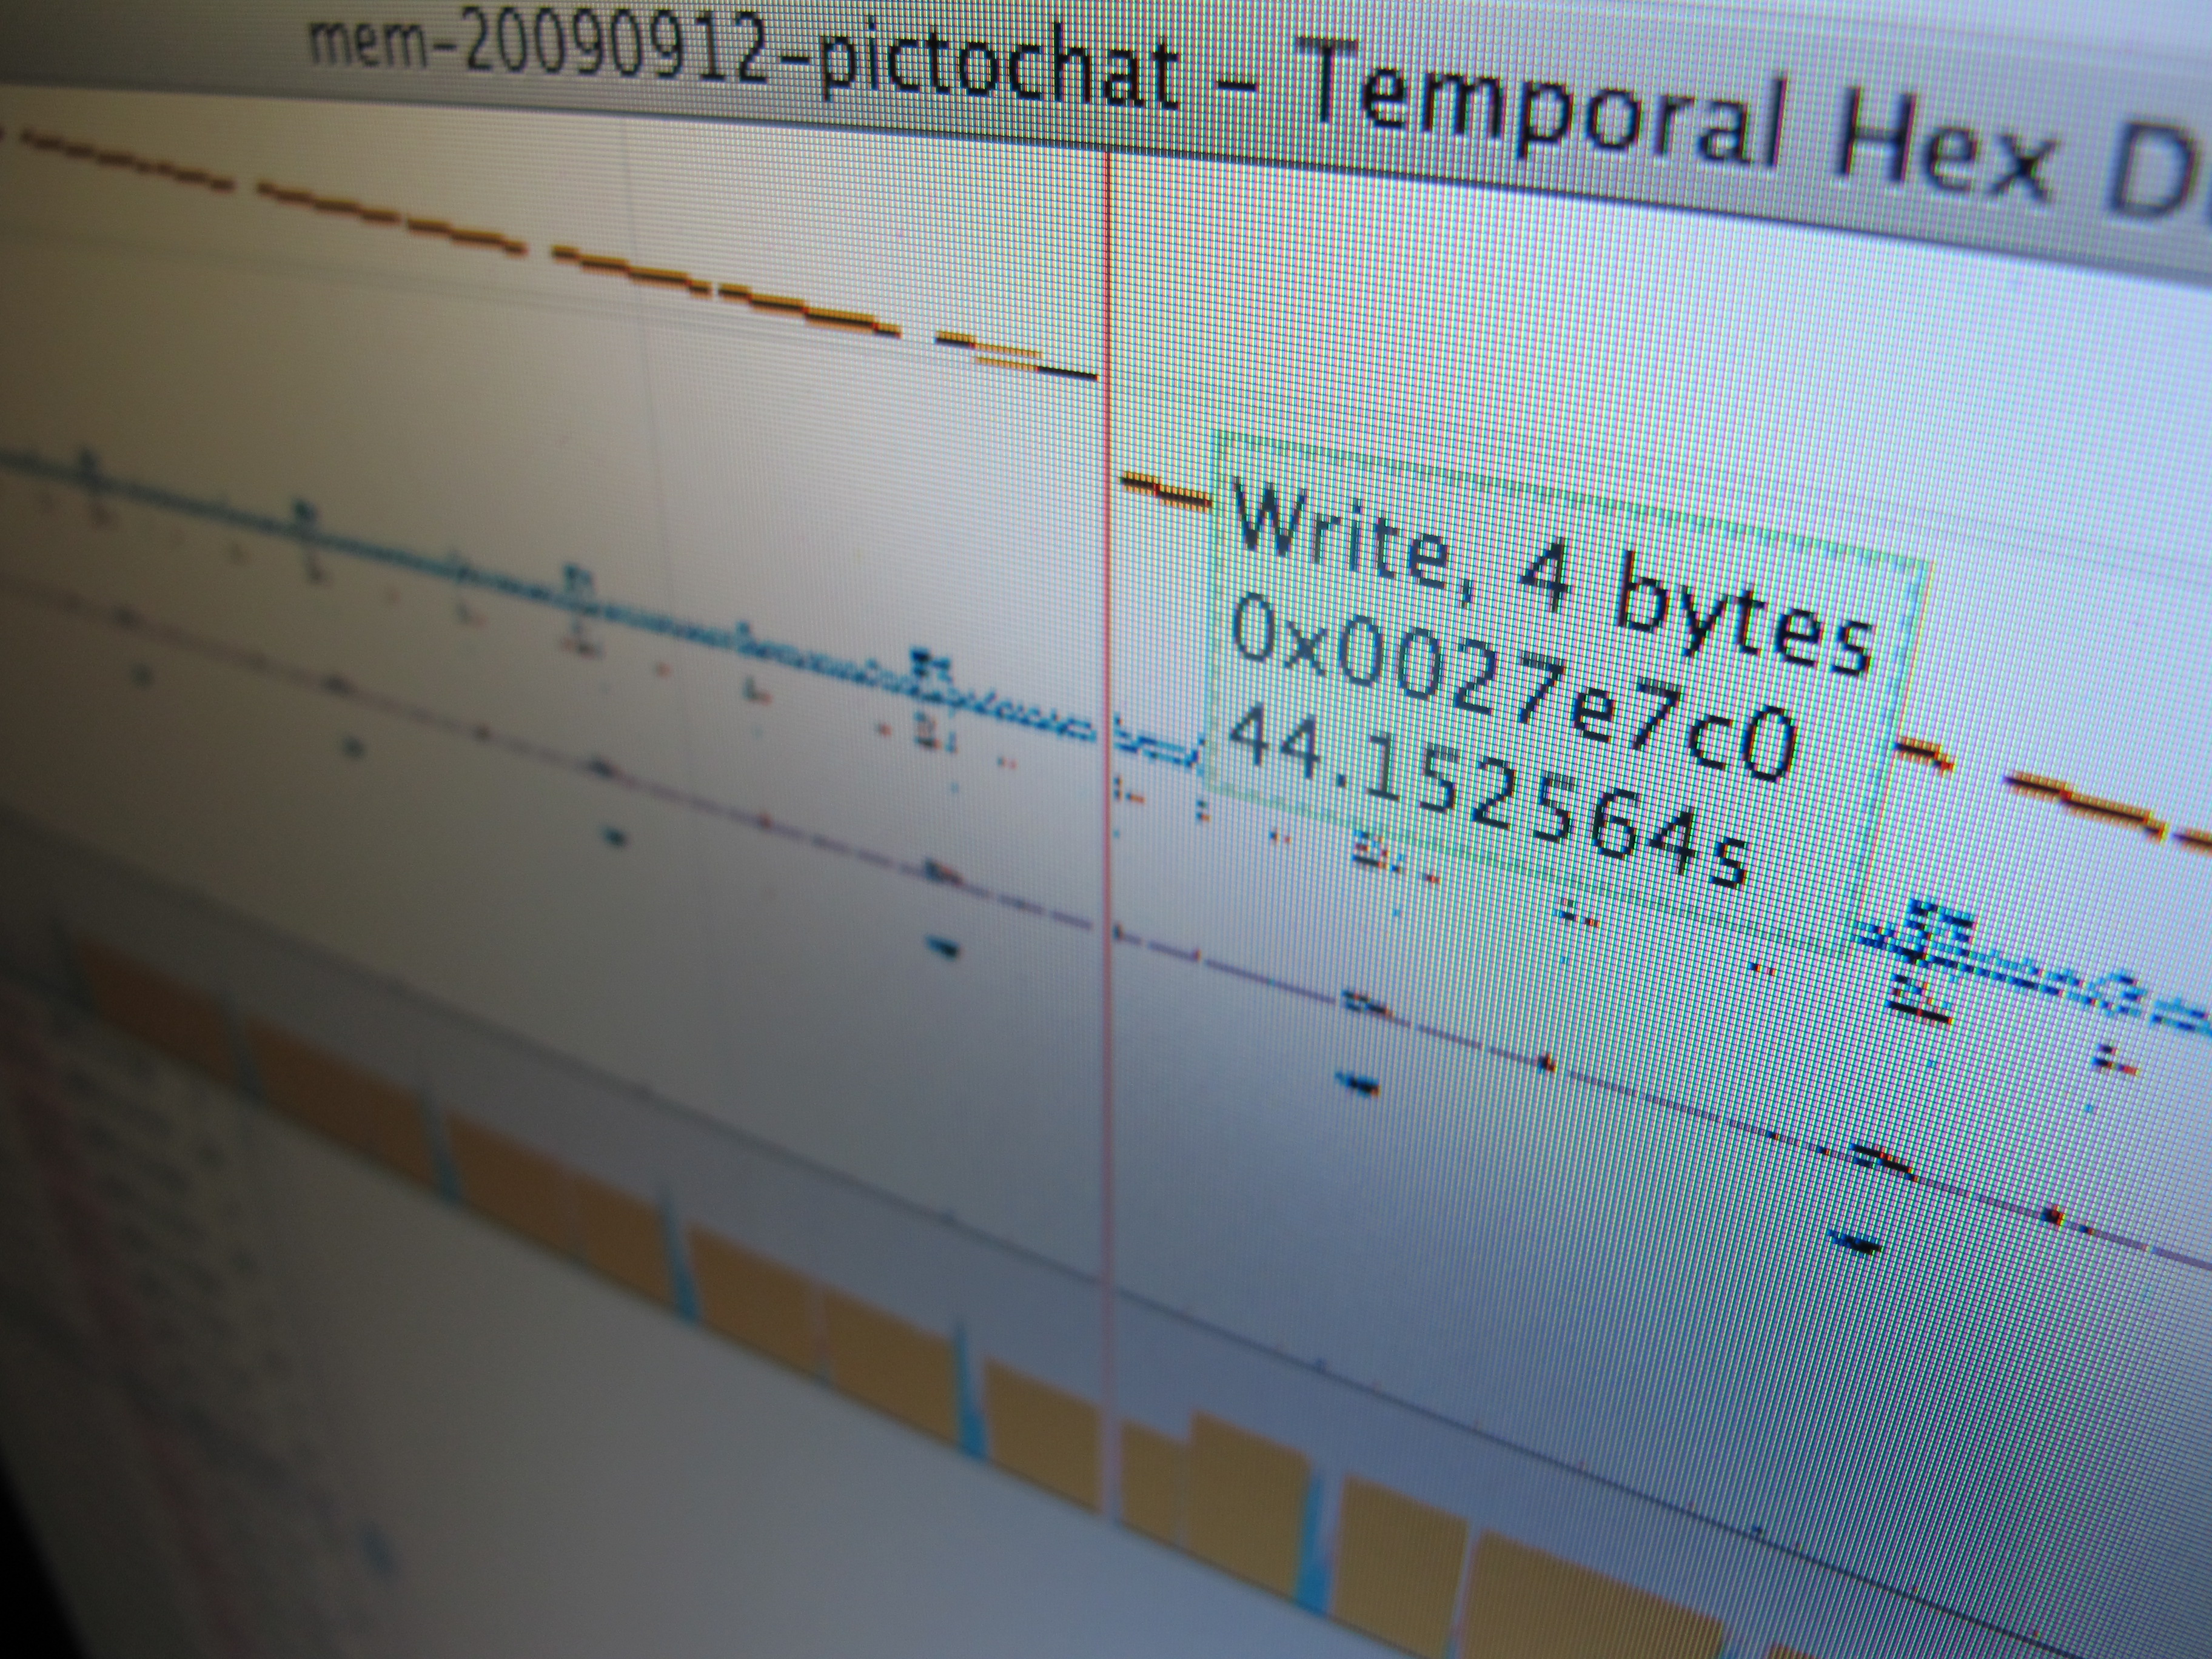
Temporal Hex Dump
After building some hardware to trace and inject data on the Nintendo DSi’s RAM bus, it became obvious pretty fast that there’s a lot of data there, and (as far as I know) no good tools for analyzing these sorts of logs. The RAM tracer has already given us a lot of insight into how…
-
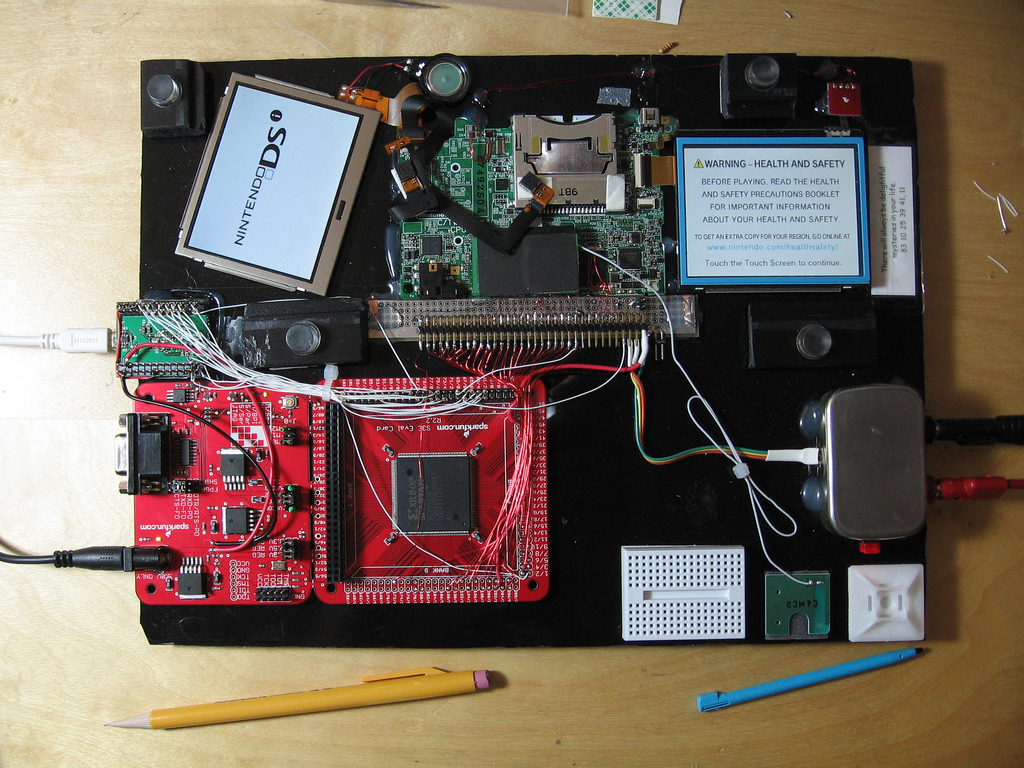
DSi RAM tracing
It seems like a lot of people have been seeing my Flickr photostream and wondering what I must be up to- especially after my photos got linked on hackaday and reddit. Well, I’ve been meaning to write a detailed blog post explaining it all- but I keep running out of time. So I guess a…
-
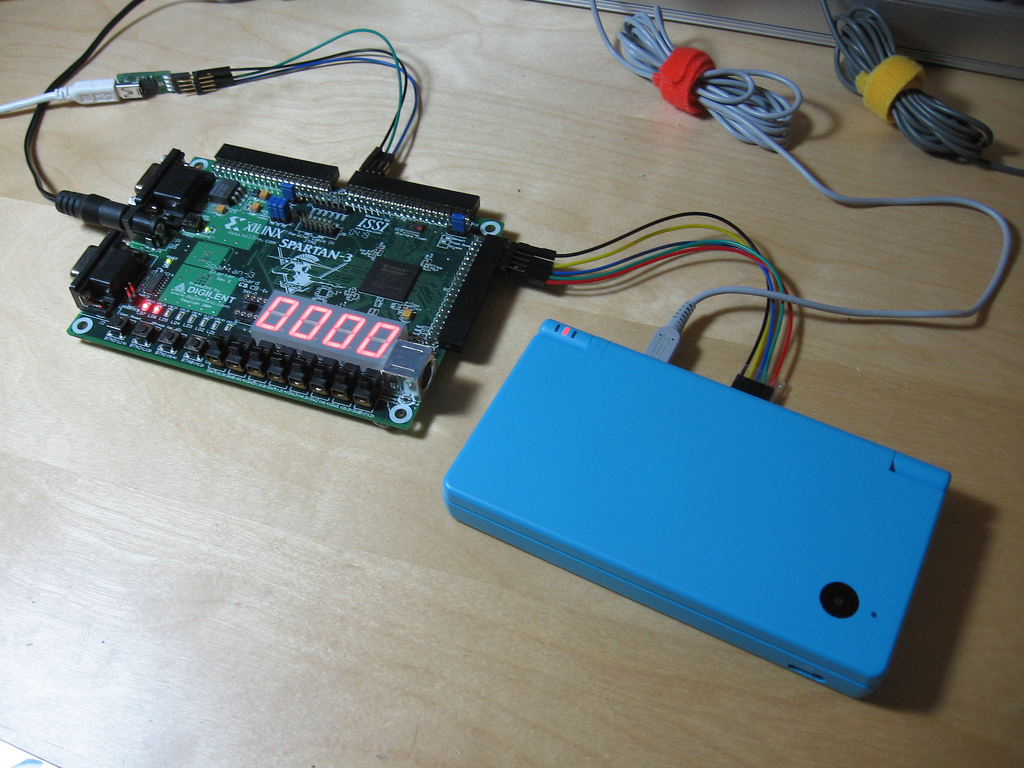
Fun with FPGAs: SPI EEPROM emulator
I found a fun excuse to practice my digital logic design over the past few days: This is an FPGA emulating the SPI EEPROM (save game memory) in a modified Nintendo DS game cartridge. The emulated EEPROM is backed by 1 MB of SRAM, and there is a USB interface that you can use to…
-
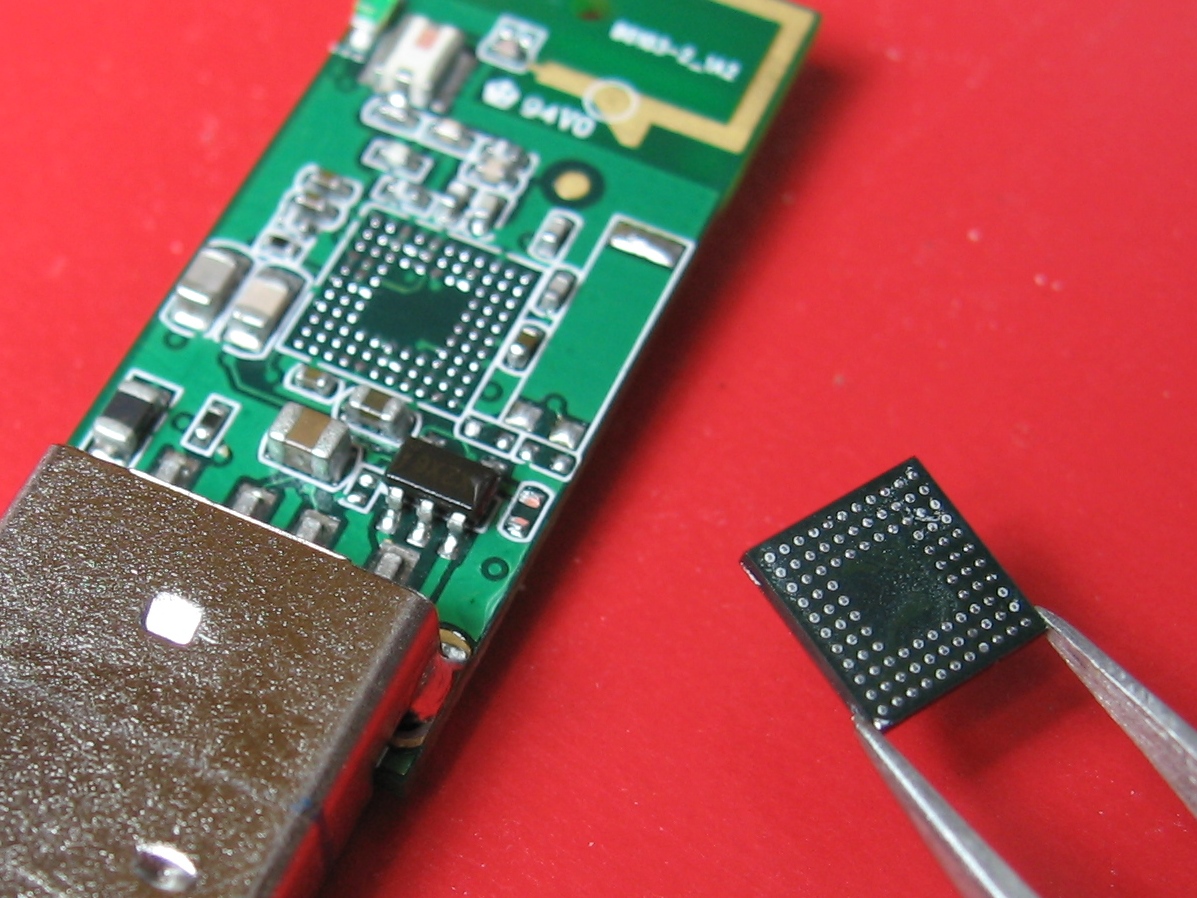
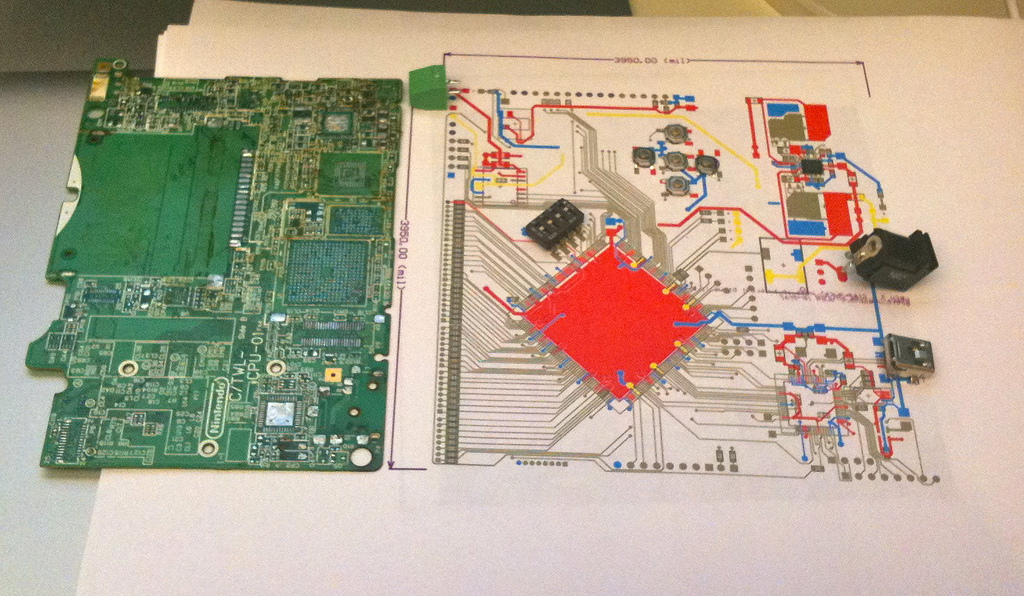
DSi hacking, BGA rework
I got a Nintendo DSi earlier this month. It’s a really cute little console, and a nice revision to the DS Lite. Screens are slightly larger, CPU is about twice as fast, 4x the RAM. And of course it has these camera thingies. Other folks have teardowns online with internal photos aplenty 🙂 So, I…
-
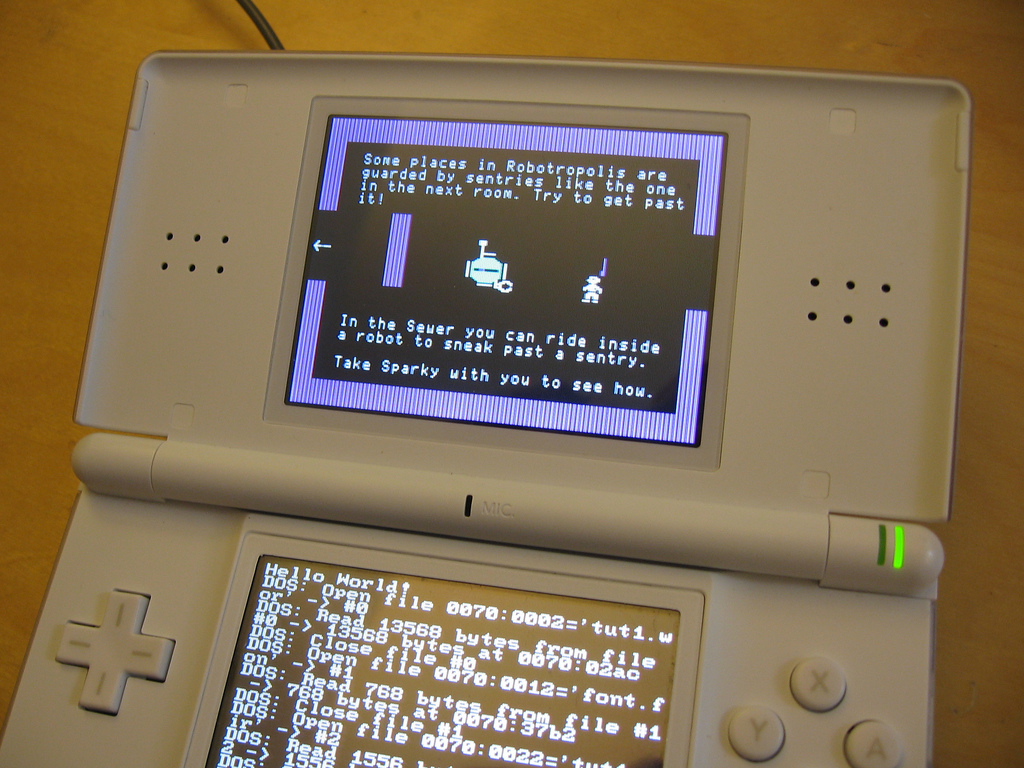
Robot Odyssey DS: First screenshots
This is nowhere near ready for prime-time, but: Yep, it’s Robot Odyssey for the Nintendo DS. I literally just got this working yesterday, so please don’t ask for any precompiled binaries. If you don’t already know where the source code is, you really don’t want to see it 🙂 Before you ask, this is not…