
Tag: RC Heli
-
November Update
I guess I don’t have a complete blog entry to write on any one thing.. but there are several unrelated things that I feel like writing down. I recently joined Twitter, but I must suck at using it because none of these things ended up there. Life Tragic. Introspective. Complicated. This isn’t really a place where…
-
Lipo Woes
I was hoping to dust off my Blade CX2 this afternoon and get some flying in. It’s been many months since I’ve flown, and that’s really a shame. So I take my two 800 mA 2S packs out of the liposack in the garage, and they’re both pretty swollen. One of them is still at…
-
R/C helicopter lights, Revision A.5
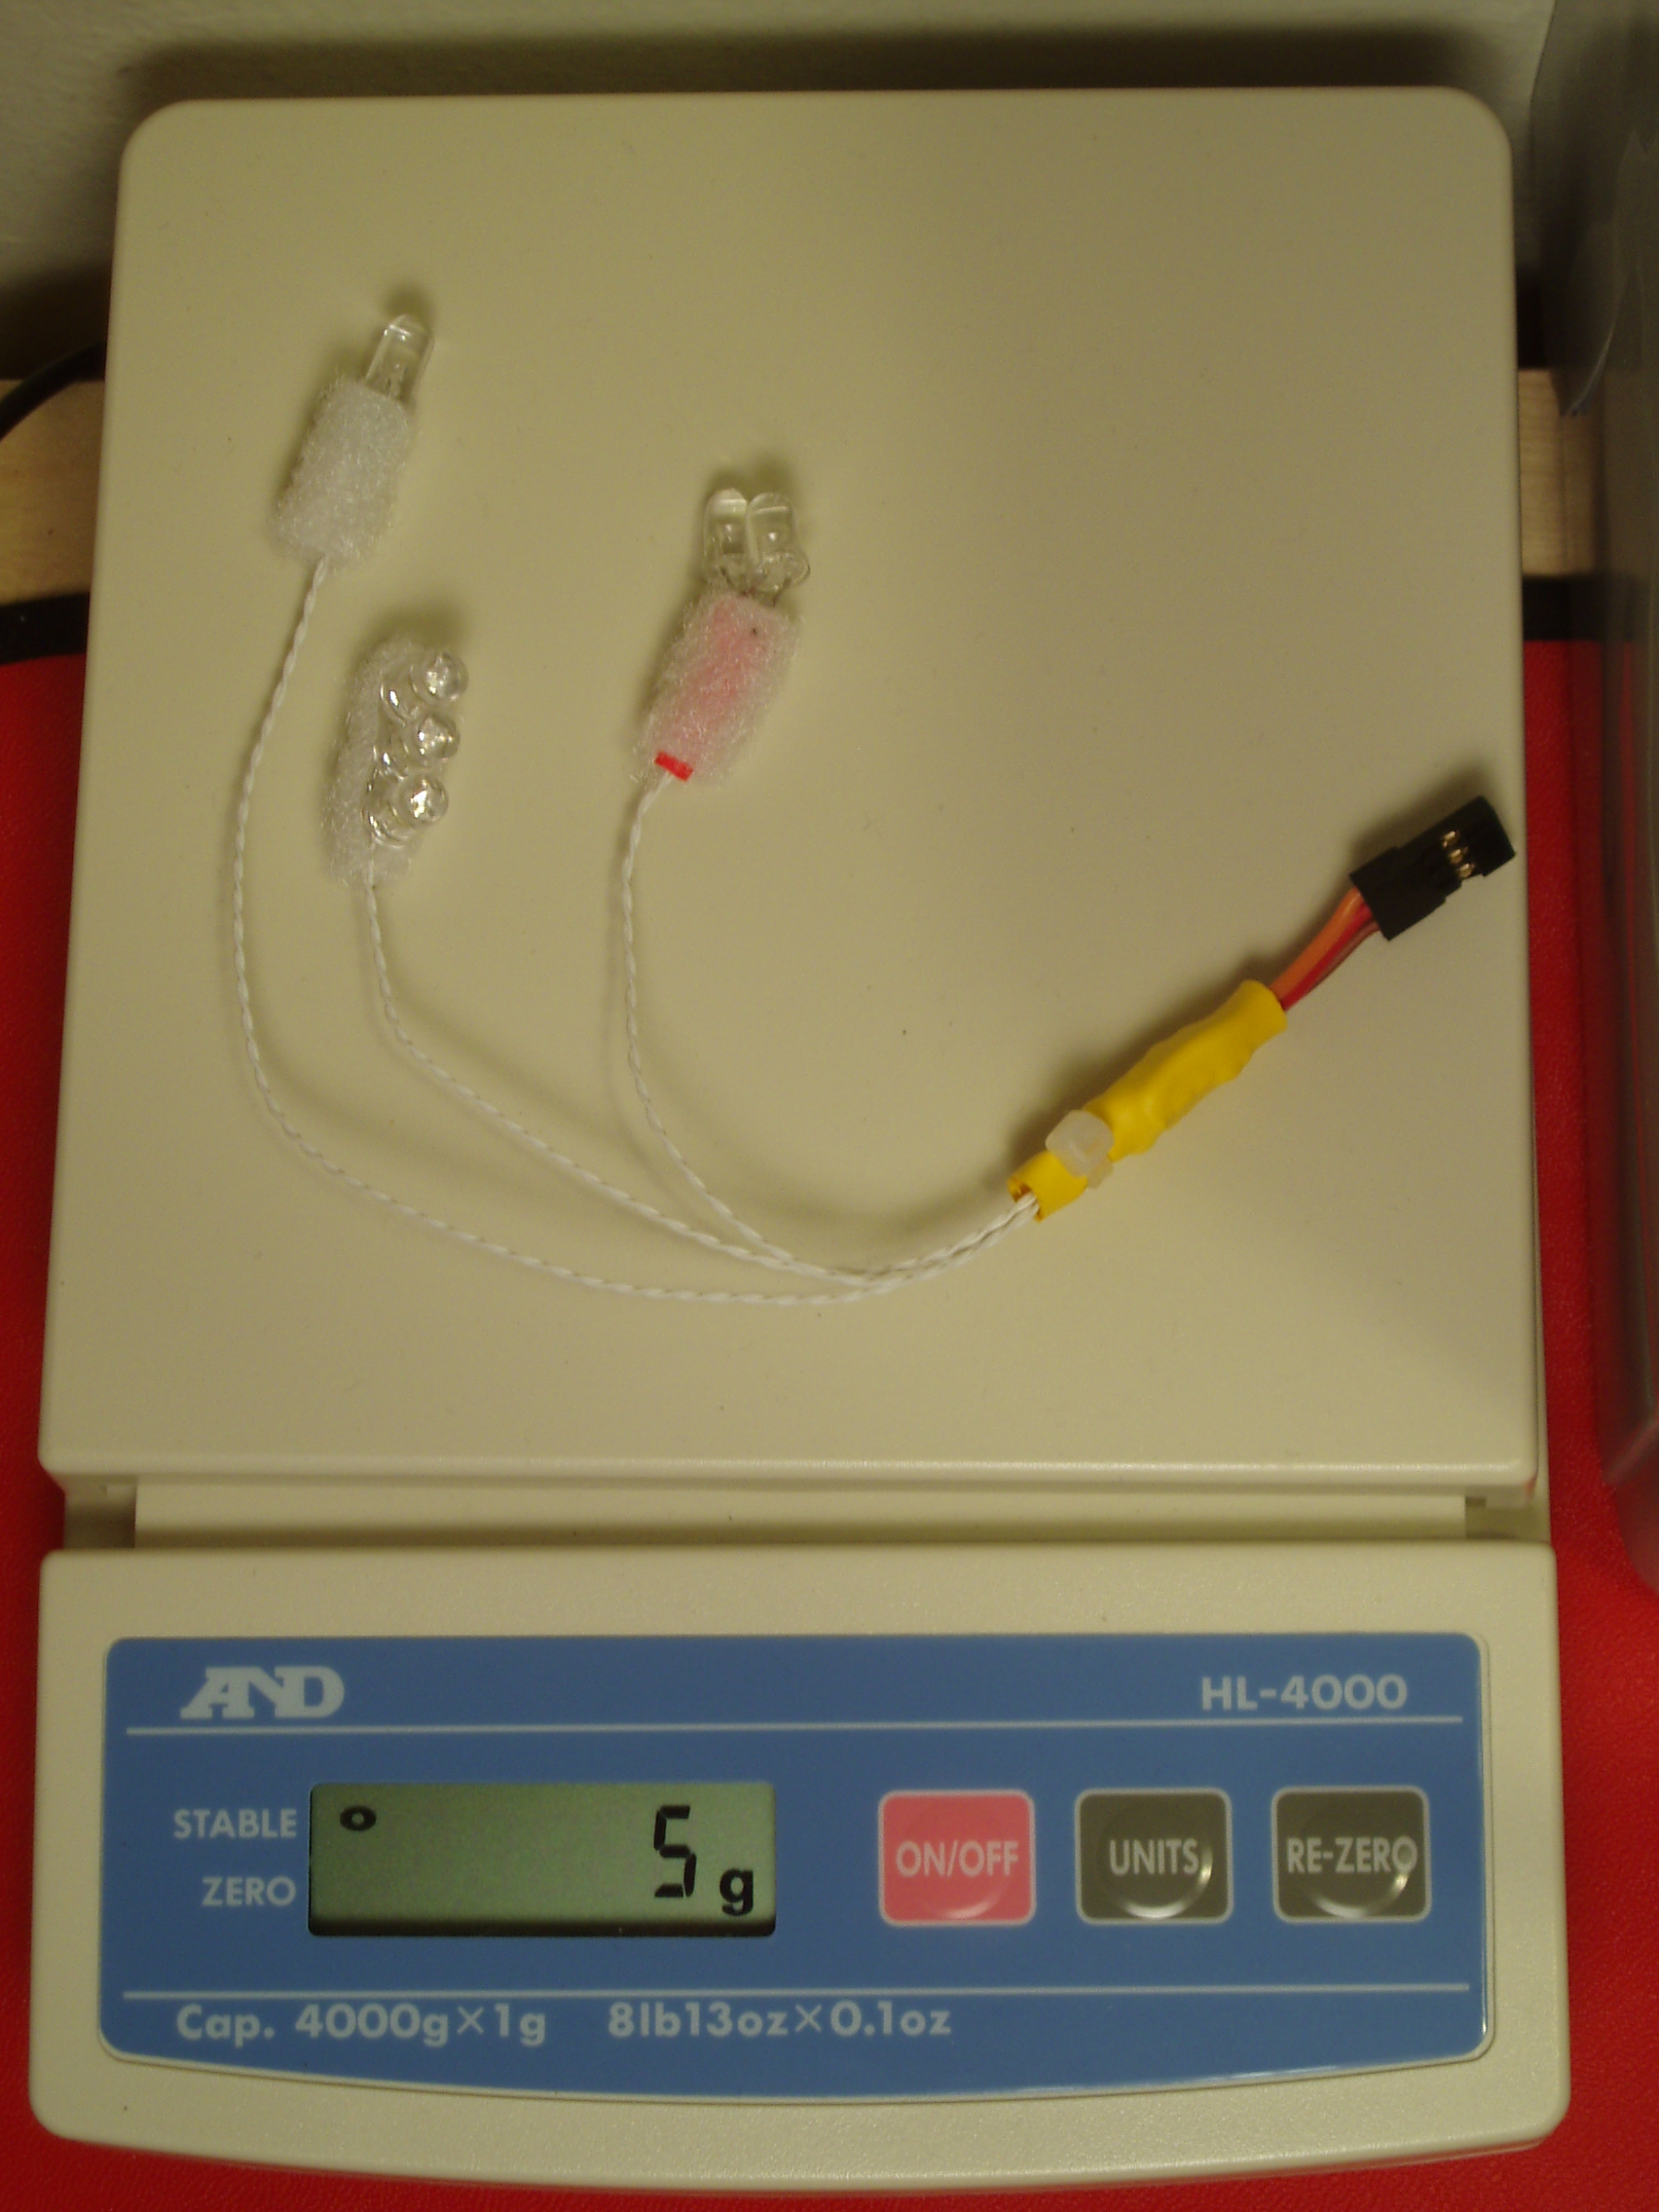
Atmel is going to personally revoke my electrical engineering license if they ever find out what’s in that yellow heat-shrink blob, but I now have a shiny new 5 gram version of my helicopter light kit =D This version has all the same remote-control dimming and strobe capabilities of the heavier Revision A. The only…
-
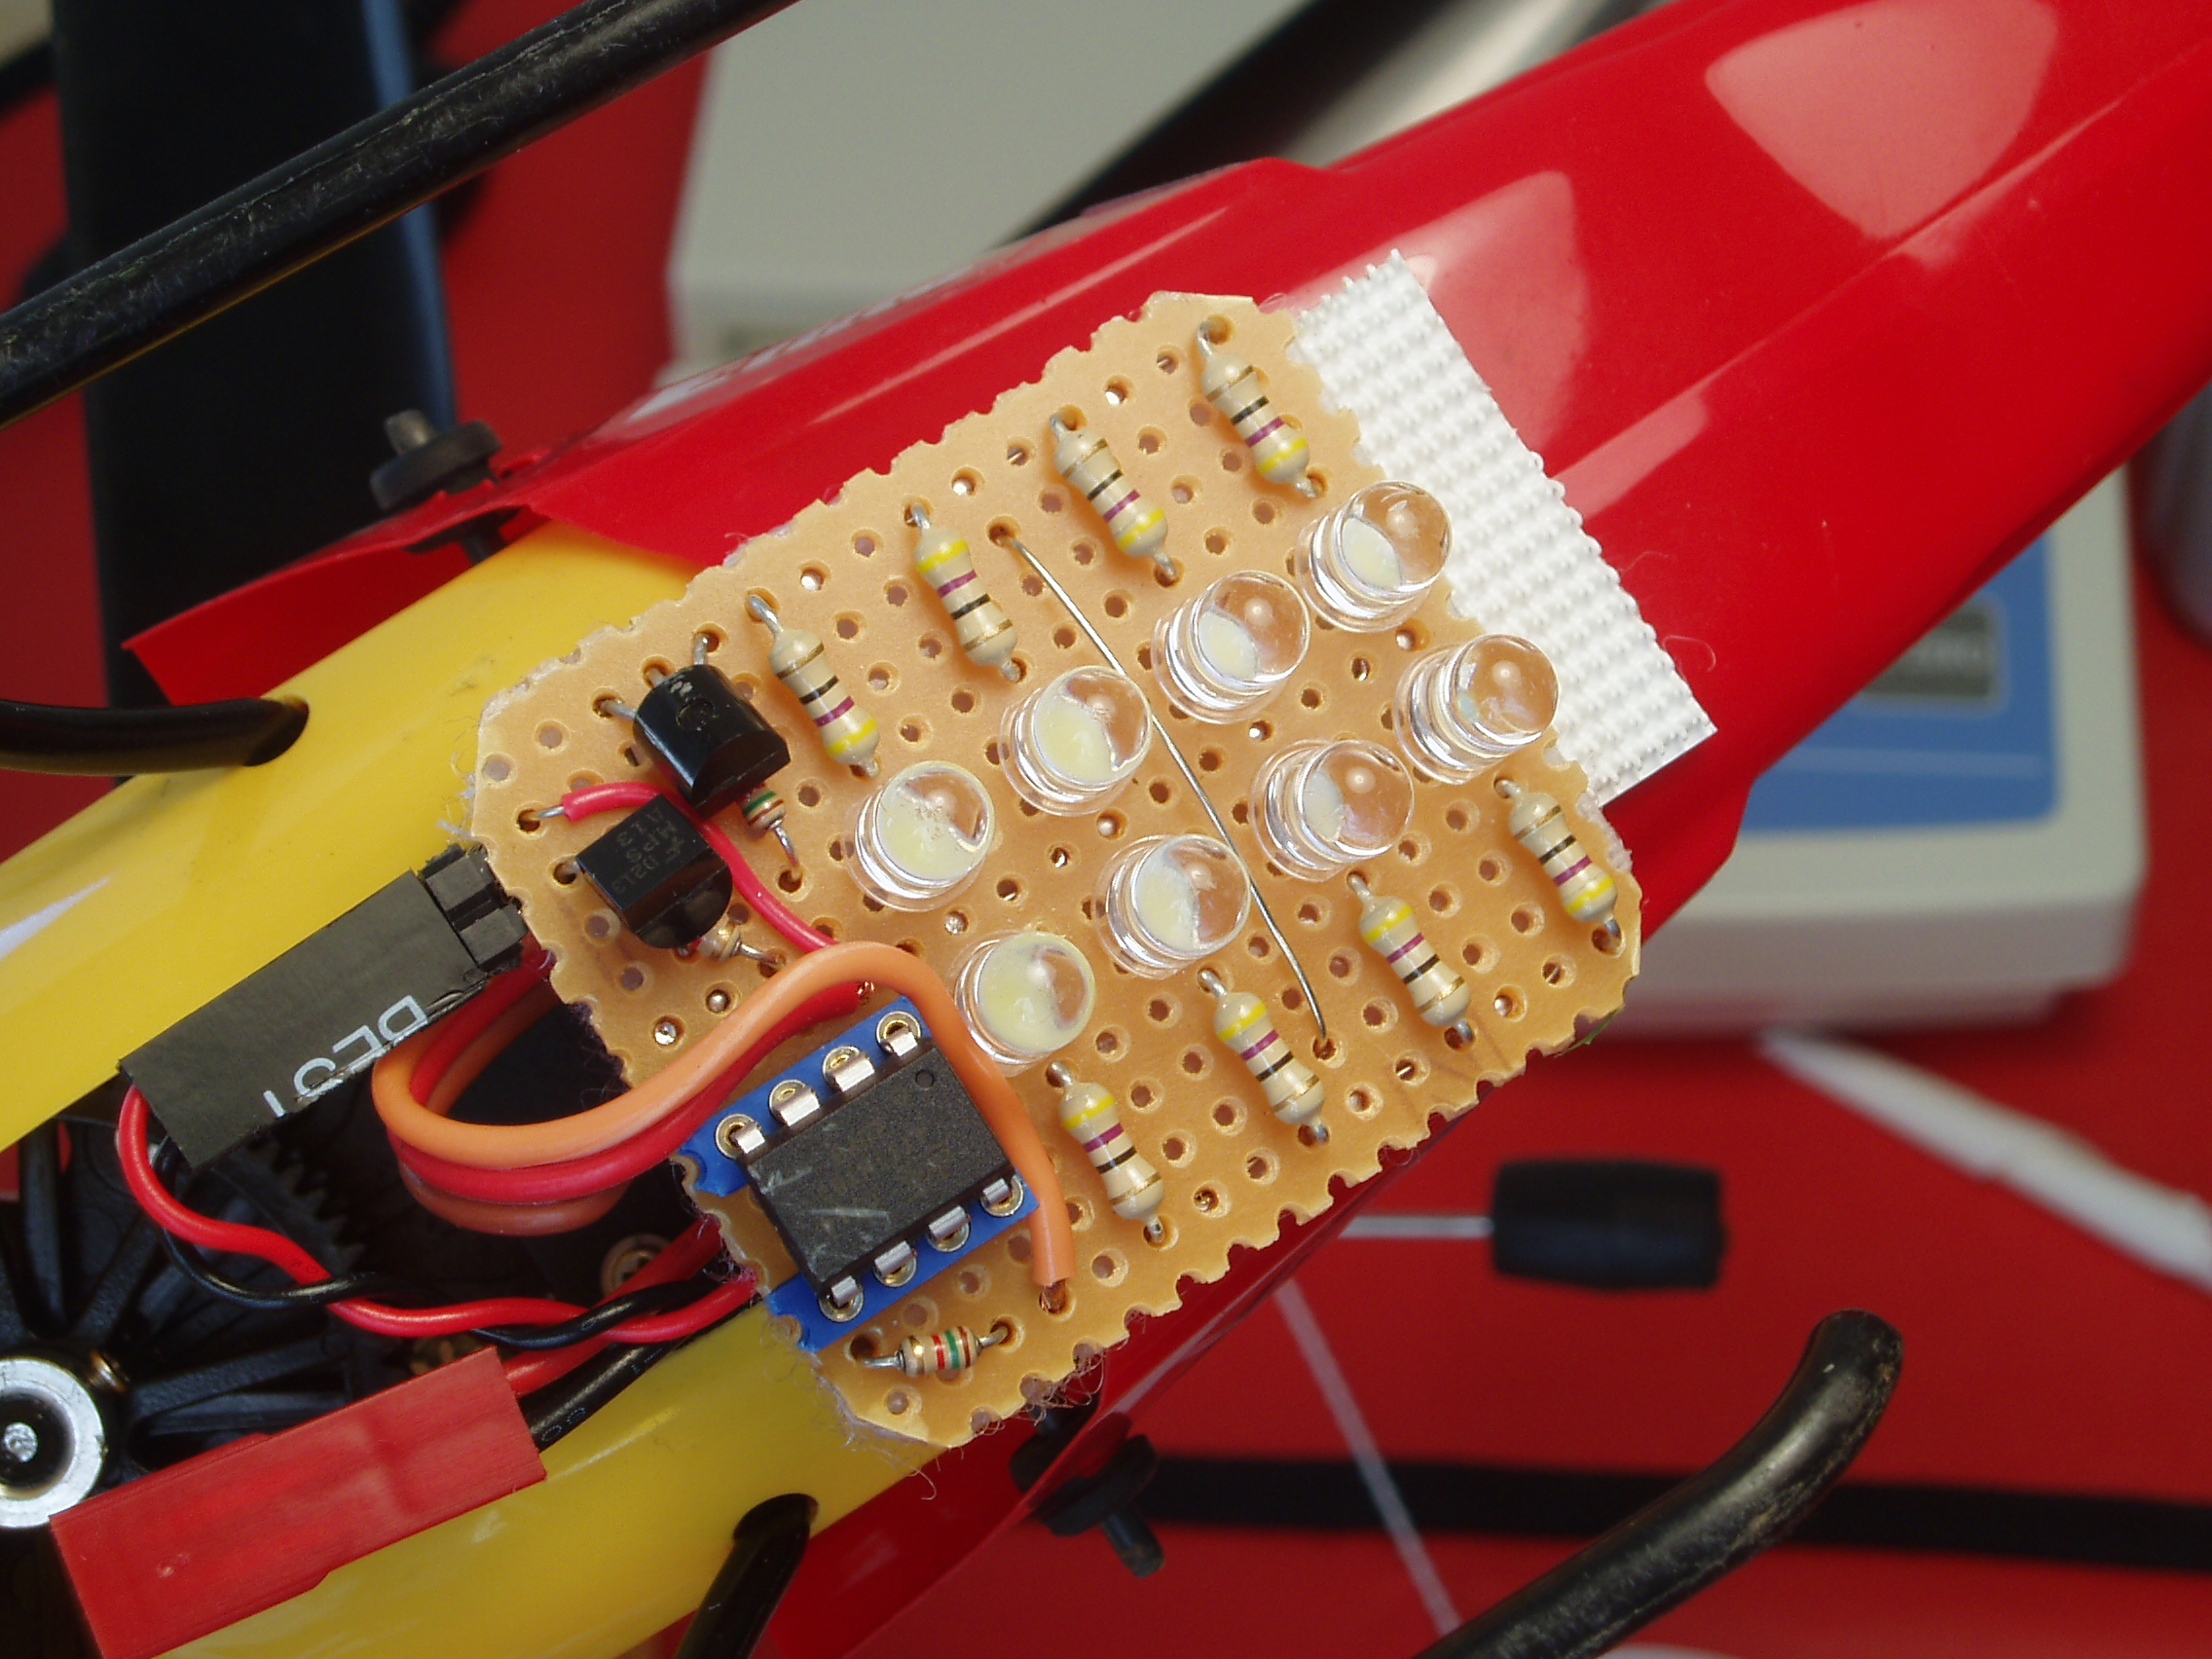
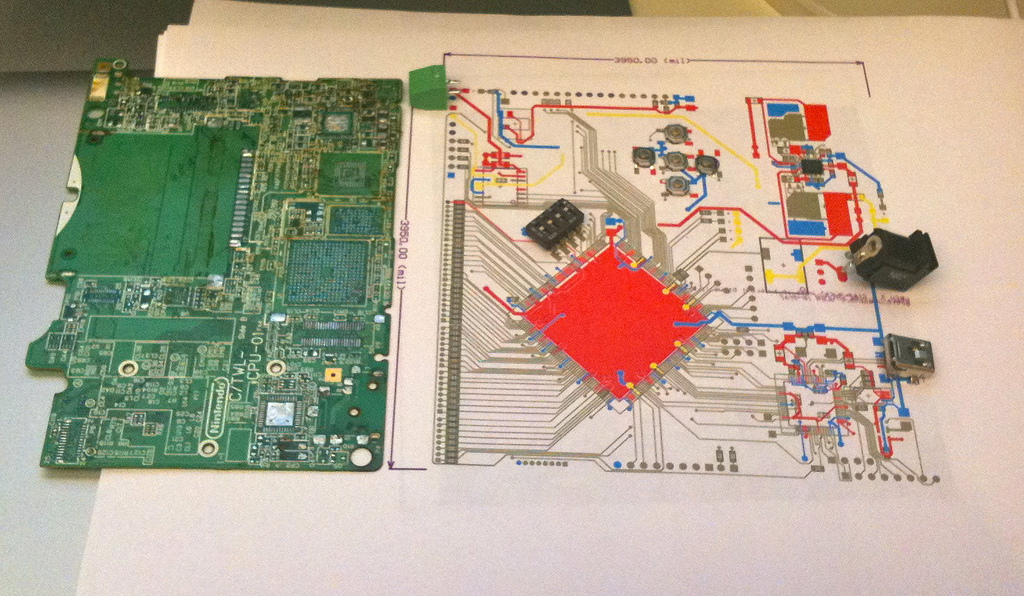
Hardware sketch: R/C helicopter light kit
As great as it is to finish a professional-looking hardware project with optimum component choices and full design documentation, I love the feeling of sketching in hardware (or as I’ve called it in the past, improvisational electrical engineering). Despite all the faults and rough edges in today’s development tools, we do live in a world…
-
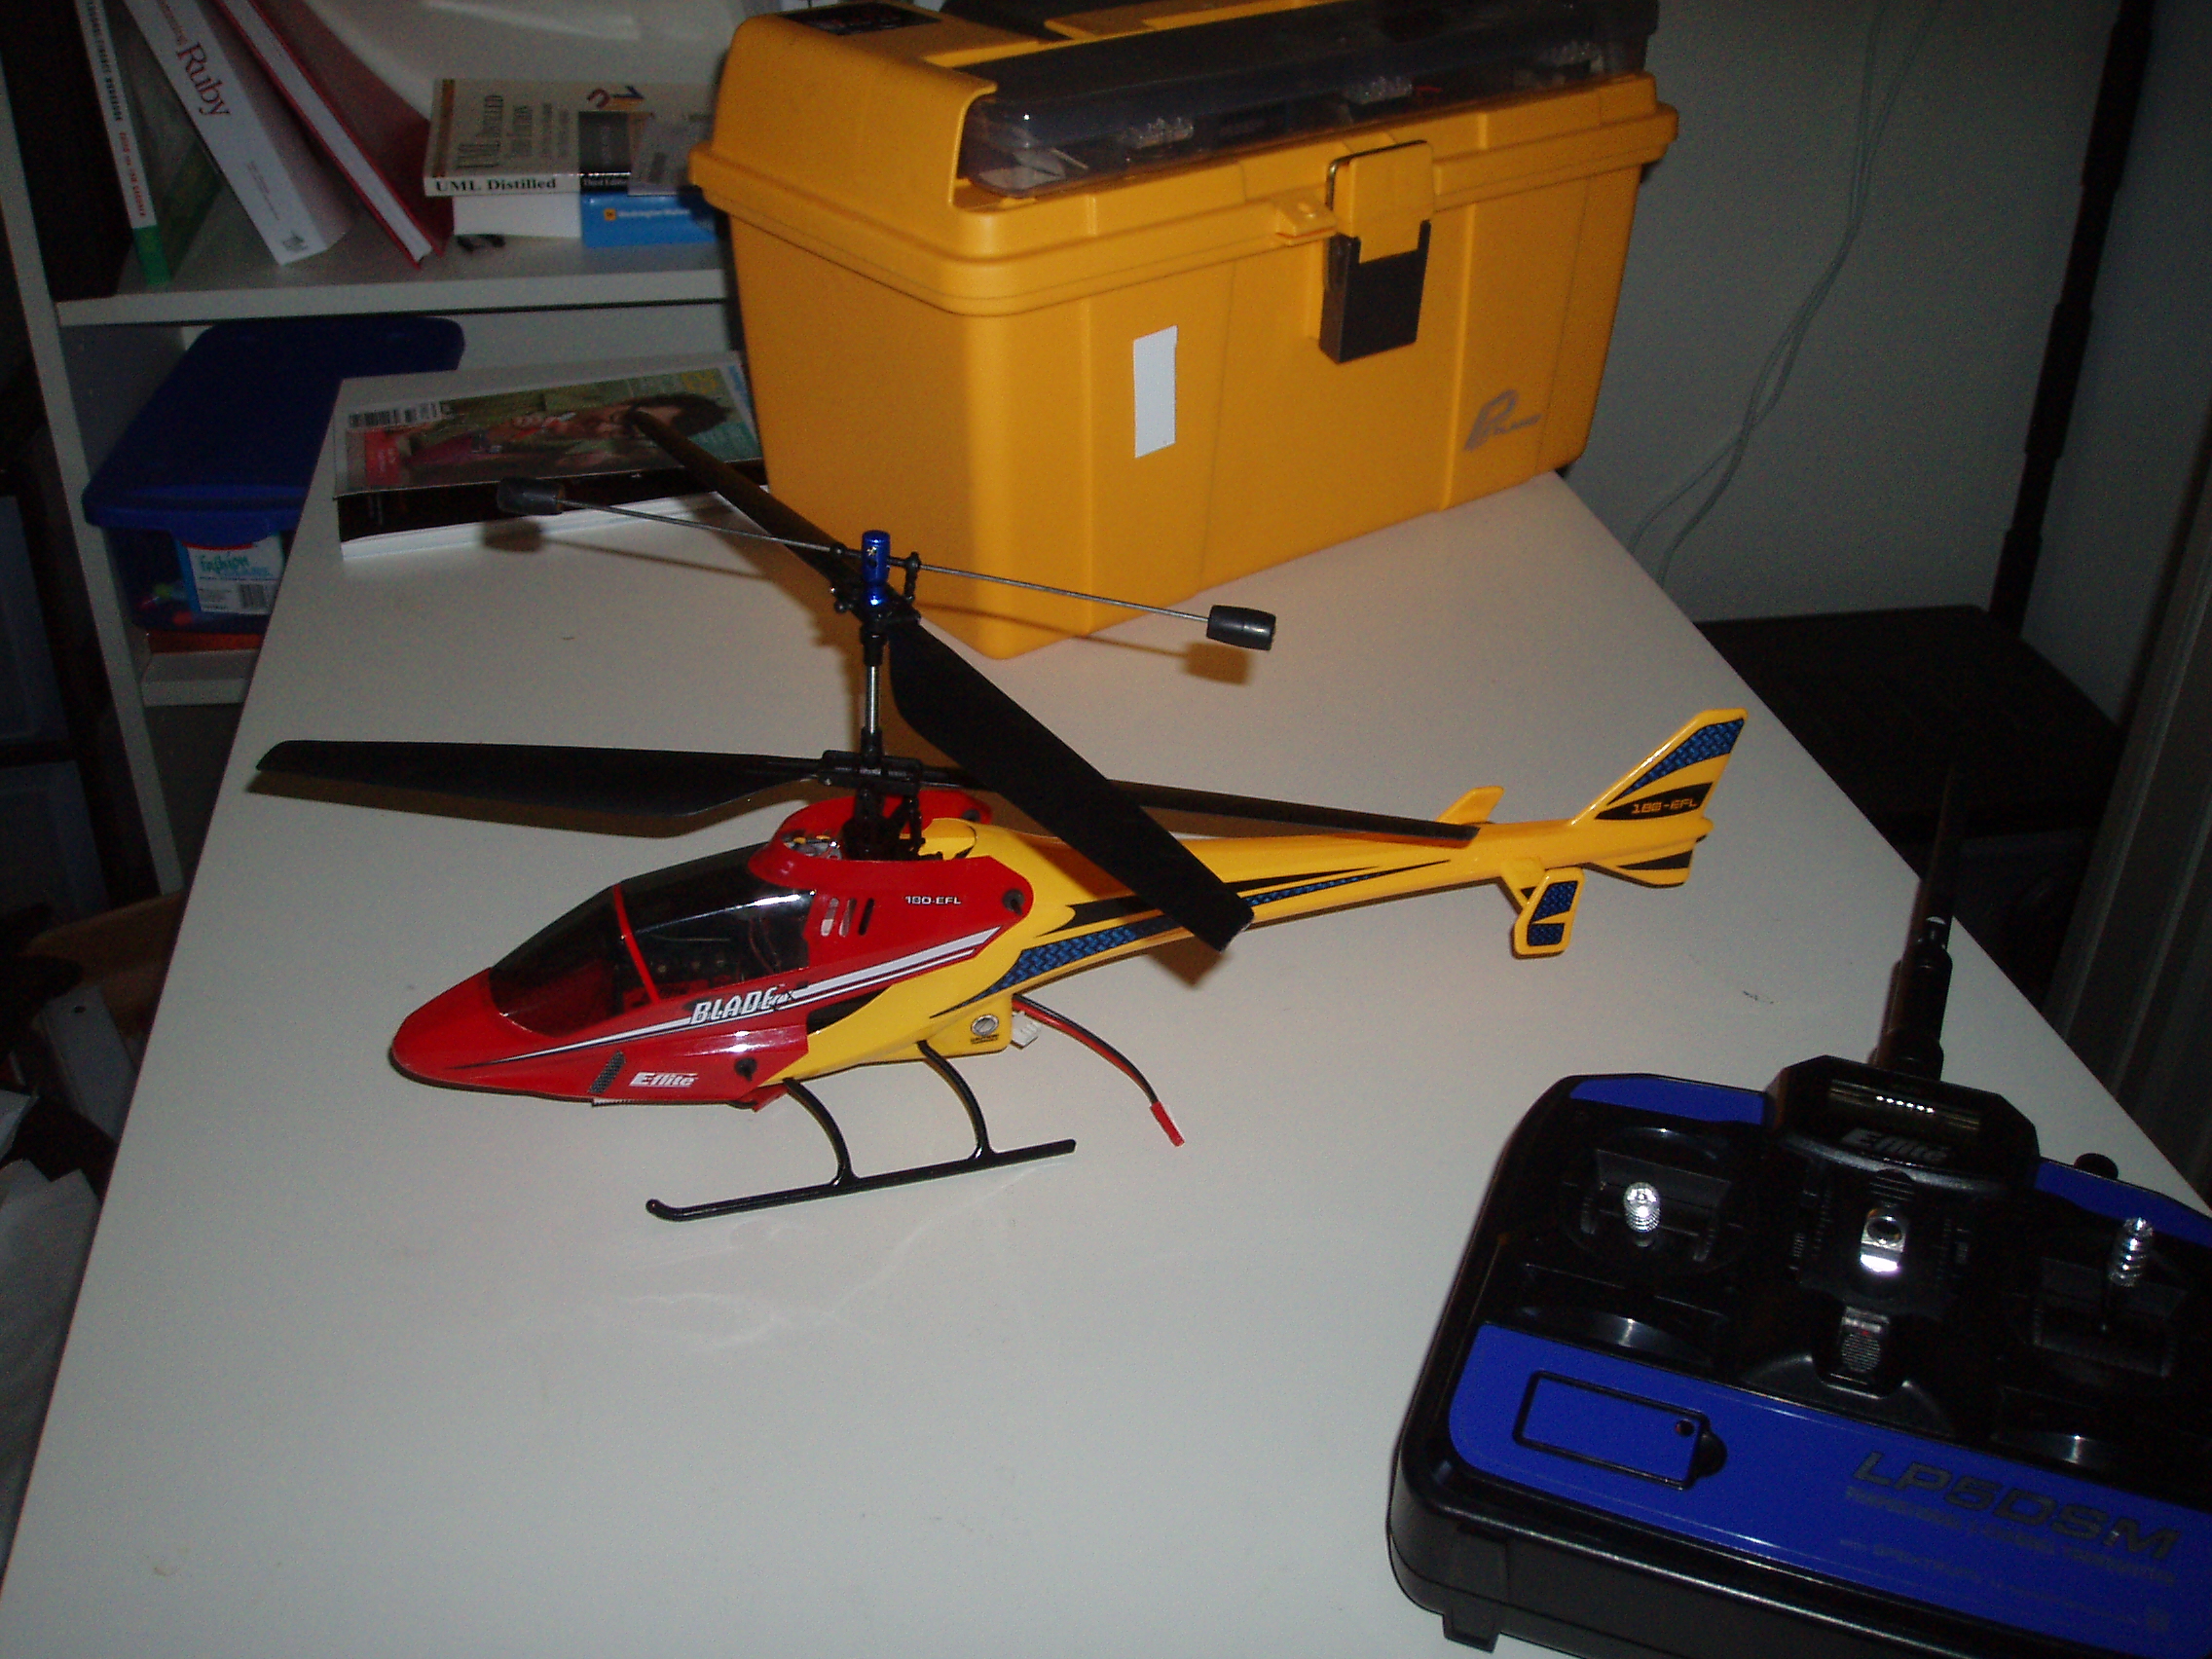
Helicoptering
I’ve been remiss in my duty as blogger extroardinaire. A new hobby, and I haven’t yet informed the world! For the past couple months, I’ve been fascinated by R/C helicopters. As far as I can tell, this all started when I was at Fry’s drooling over the Lego Mindstorms in the toy aisle. The abundance…