
Tag: Robot Odyssey
-
scanlime033 – Robot Odyssey Full Playthrough
Is this a YouTube first, a full play of the whole game? It’s a classic that many have lost patience for, including my childhood self. It’s like if Atari 2600 Adventure were full of digital logic puzzles. Let’s do this, play through from start to finish, and test the new WebAssembly port I’ve been making!…
-
scanlime:003 / Robot Odyssey DS
A quick look back at my partially complete console port of an old DOS game. Source on github: https://github.com/scanlime/robot-odyssey-ds
-
November Update
I guess I don’t have a complete blog entry to write on any one thing.. but there are several unrelated things that I feel like writing down. I recently joined Twitter, but I must suck at using it because none of these things ended up there. Life Tragic. Introspective. Complicated. This isn’t really a place where…
-
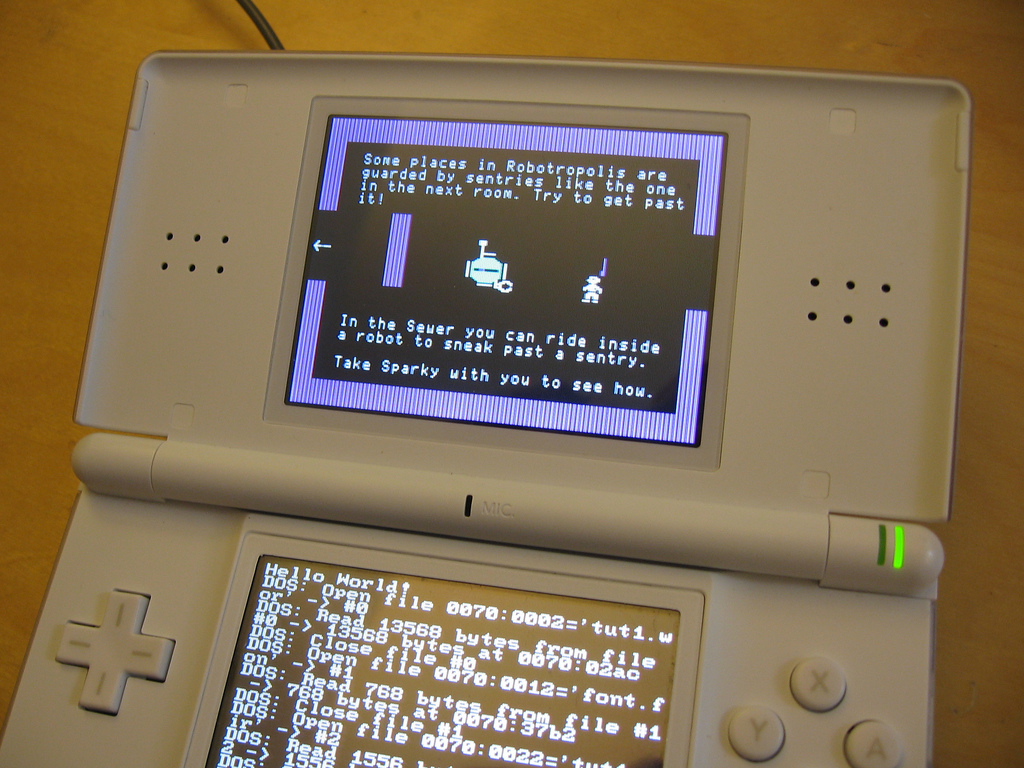
Robot Odyssey DS: First screenshots
This is nowhere near ready for prime-time, but: Yep, it’s Robot Odyssey for the Nintendo DS. I literally just got this working yesterday, so please don’t ask for any precompiled binaries. If you don’t already know where the source code is, you really don’t want to see it 🙂 Before you ask, this is not…
-
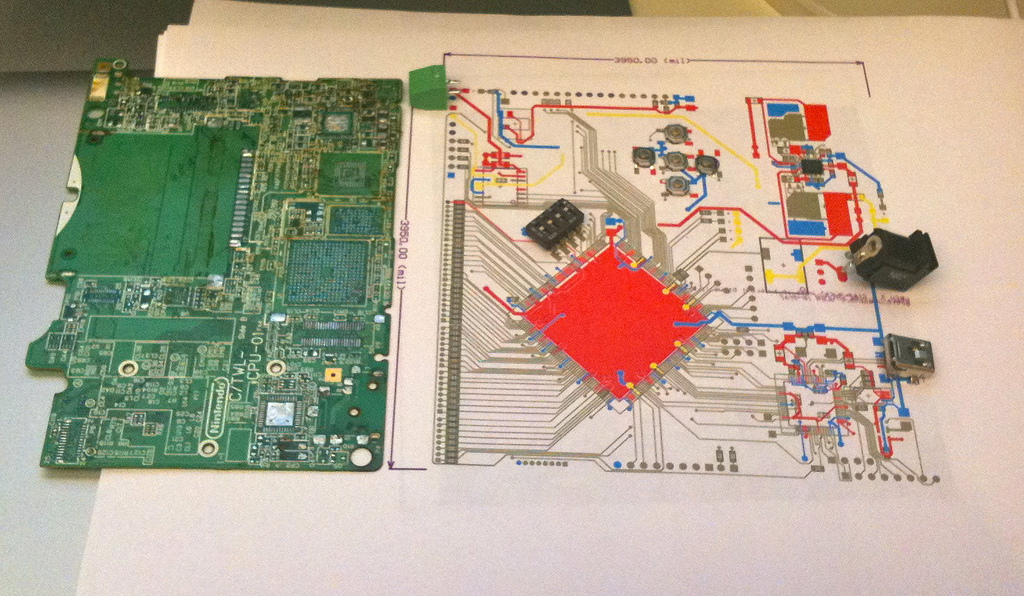
Robot Odyssey Chip Disassembler
I’ve been spending more time hacking on Robot Odyssesy lately. Most of it has had a specific purpose… I’ll write a separate blog post on that project once it’s a bit more fully baked. In the mean time, the reverse engineering has had some useful side-effects. Chip Simulation If you haven’t heard of Robot Odyssey,…
-
Robot Odyssey Mouse Hack 1
Yesterday I spent some more time reverse engineering Robot Odyssey. This was a great game, and it’s kind of a nostalgic pleasure for me to read and figure out all of this old 16-bit assembly. So far I’ve reverse engineered nearly all of the drawing code, big chunks of the world file format, and most…
-
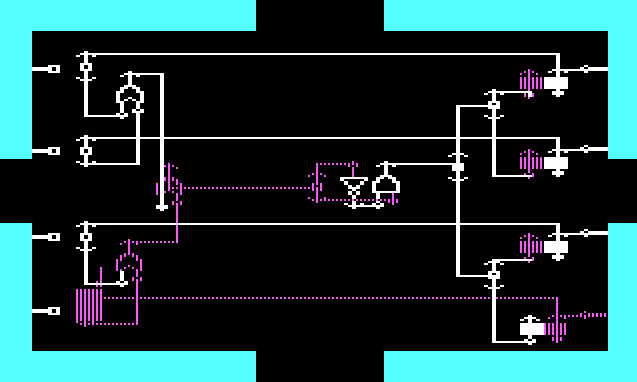
Robot Odyssey: 4-way low latency flip flop
Robot odyssey rocks. Also, I didn’t realize that you could upload a video captured with VMware Workstation directly to Youtube. It’s pretty neat that they support our video codec. Here’s a video of a chip I was just designing, a low-latency 4-way flip flop.
-

A Binary Patch for Robot Odyssey
Robot Odyssey is one of the games that I have the fondest childhood memories of. It’s both a high-quality educational game, and a gentle (but very challenging) introduction to digital logic. There’s a Wikipedia article on the game. There’s also DroidQuest which is a Java-based clone of Robot Odyssey. The DroidQuest site also contains some…