
Tag: fadecandy
-
Fadecandy video updates
I’ve been super busy lately, working on a new installation. I’m excited to document the process more at some point, but for now I have some videos to share with new LED effects I’ve been working on:
-
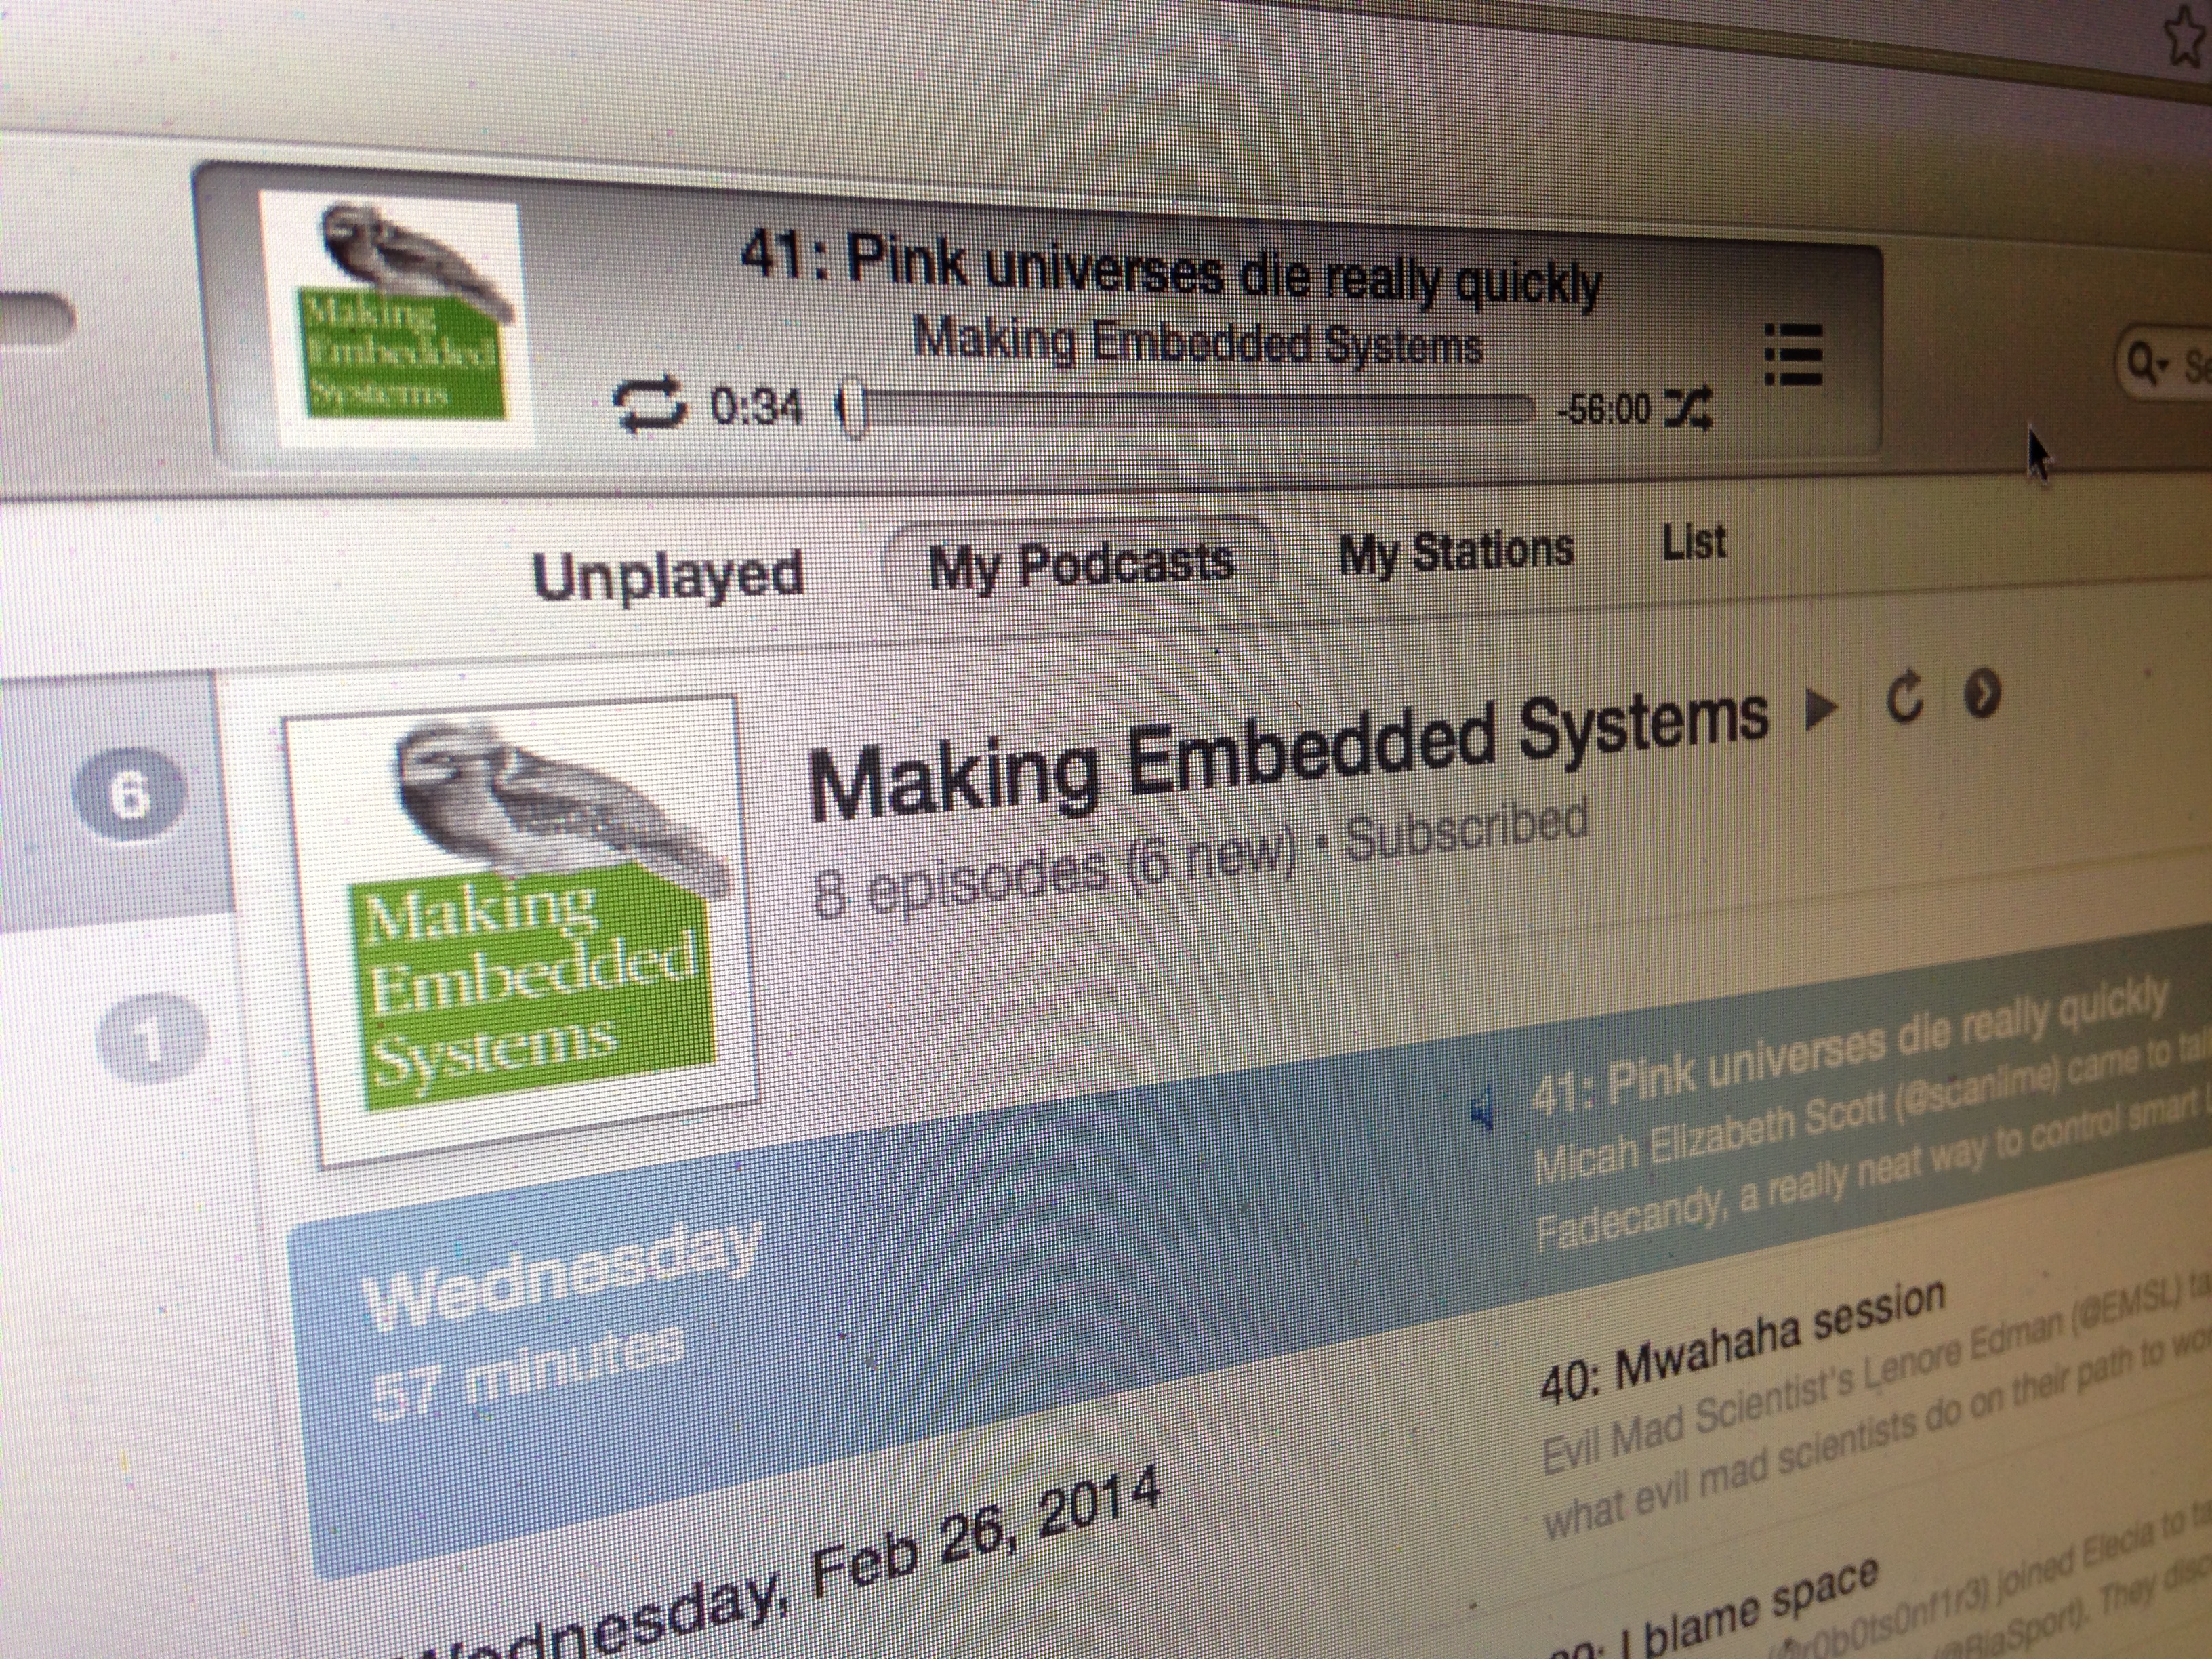
Fadecandy on the Making Embedded Systems podcast
I recently had the opportunity to speak with Elecia White on the Making Embedded Systems podcast about Fadecandy. The conversation ranged from beautiful LED control algorithms and open source embedded projects to triangle tessellations, art, and identity.
-
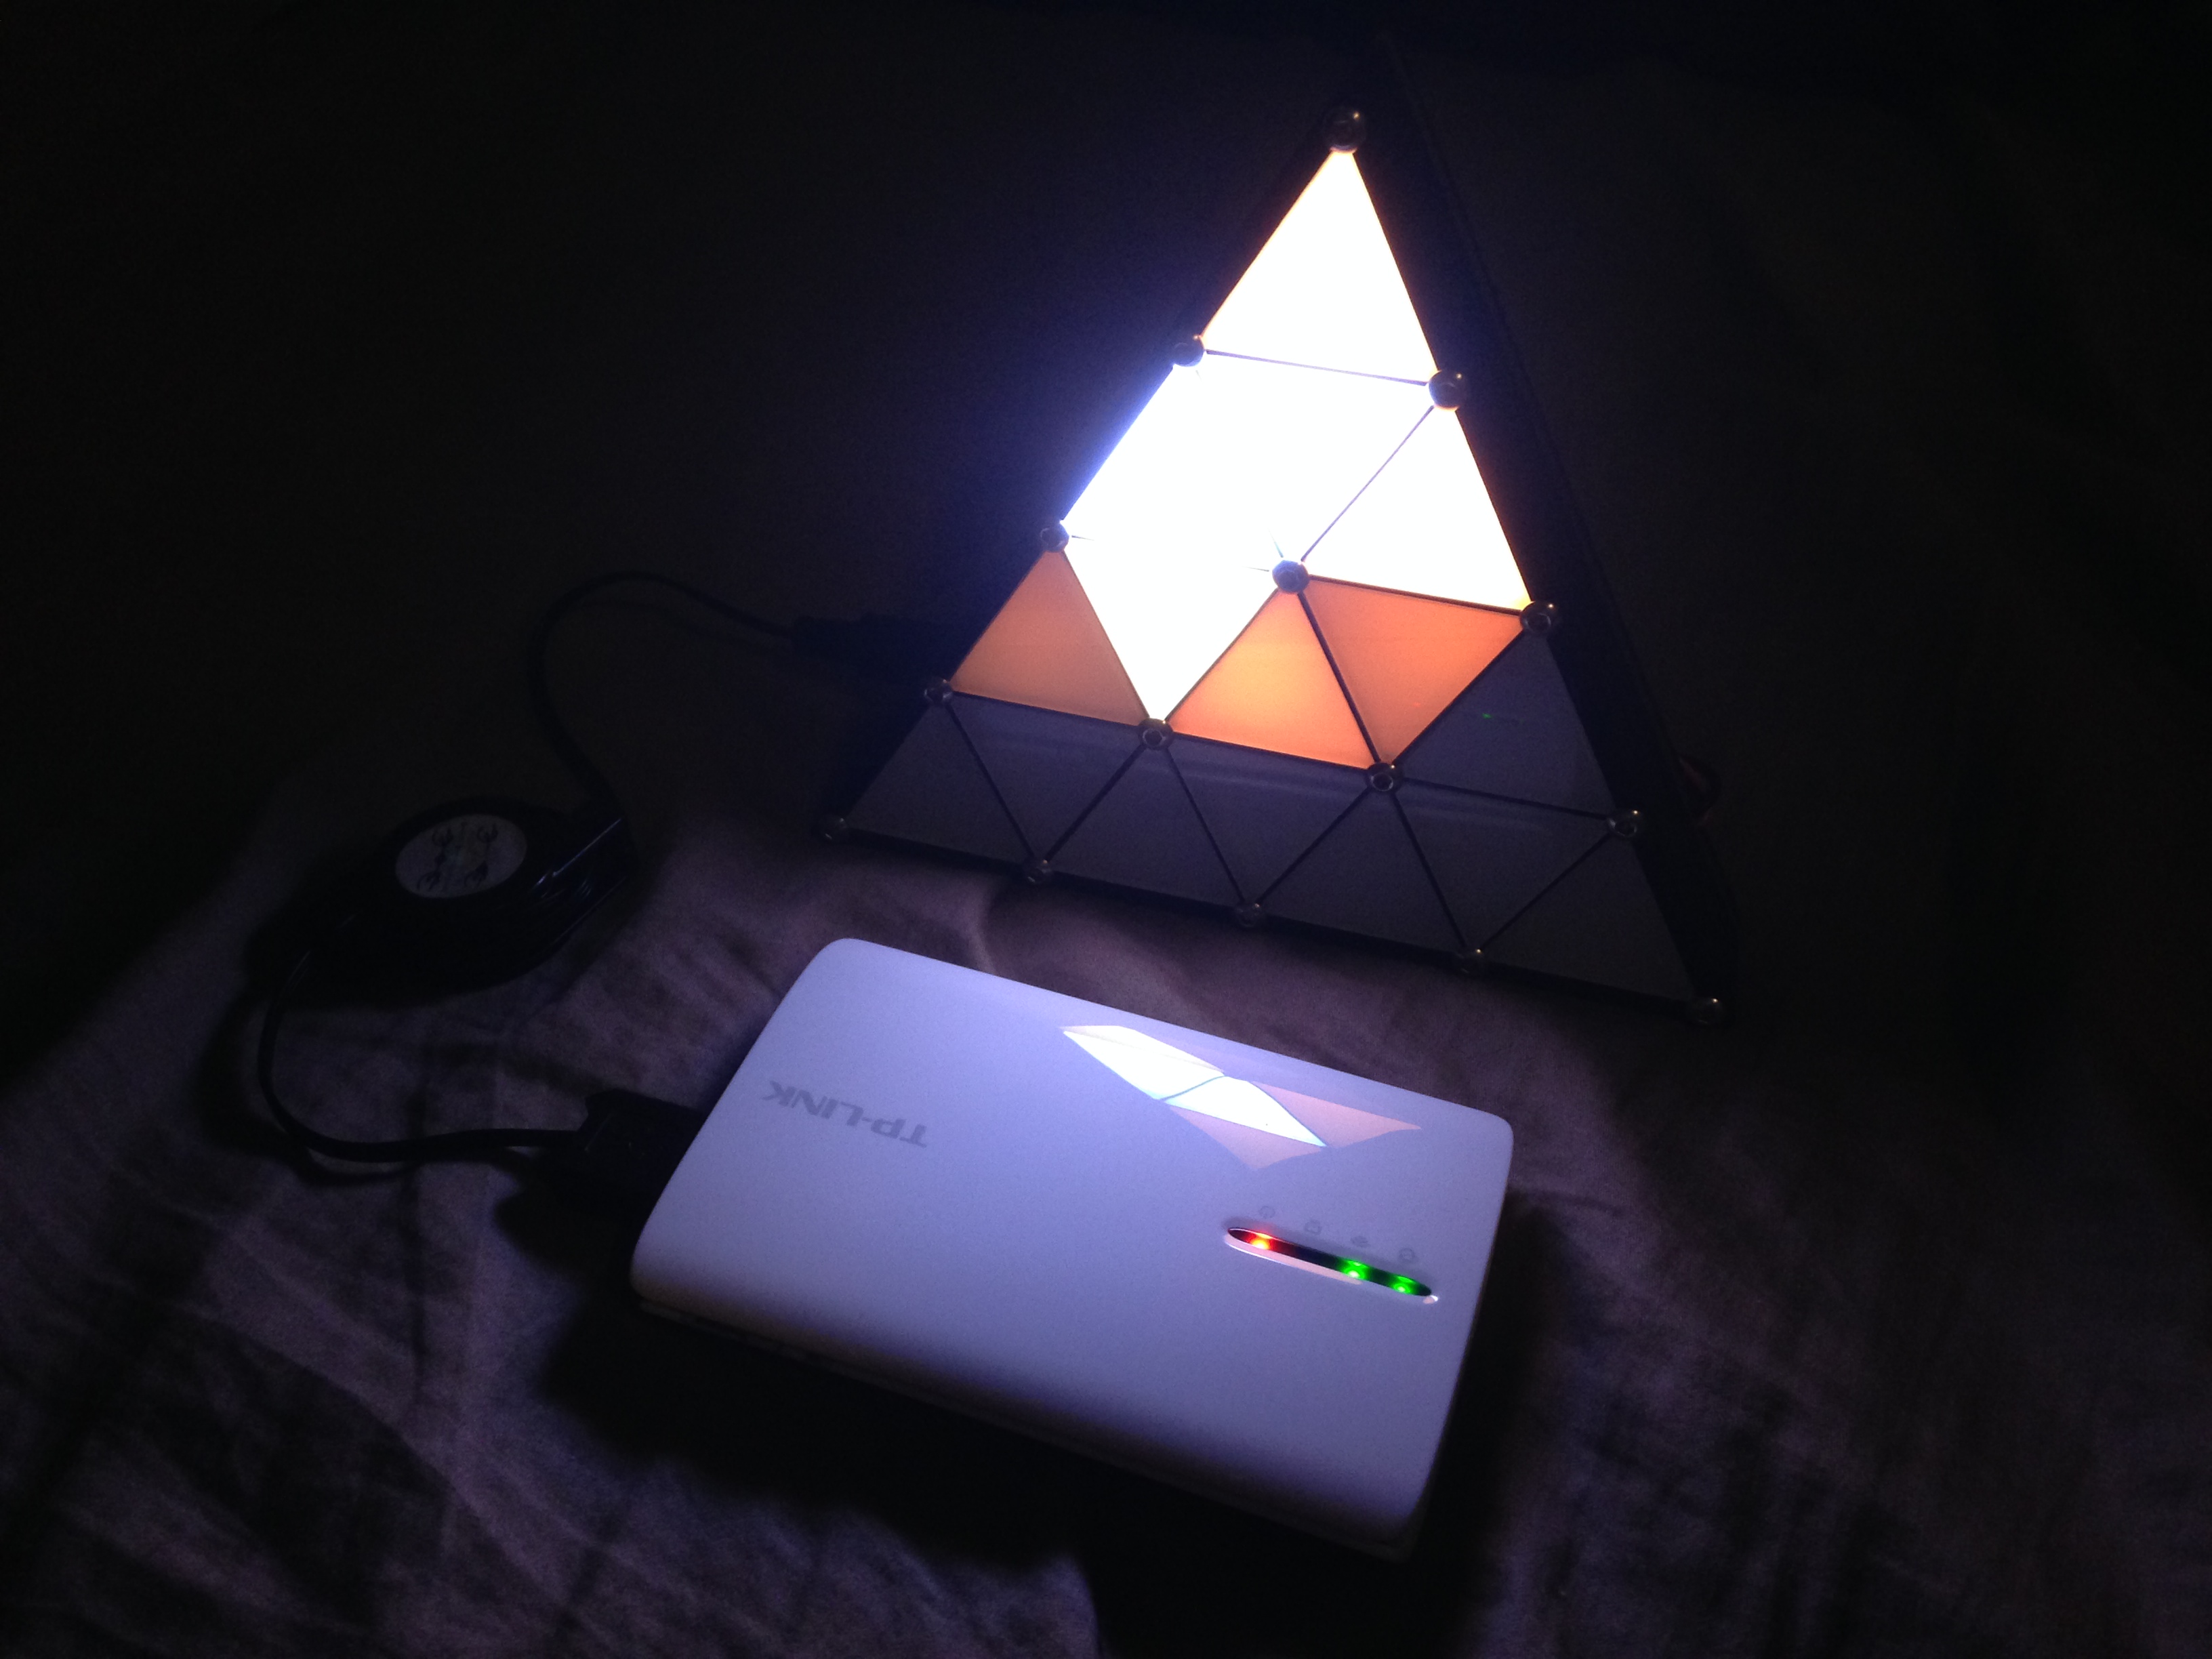
Standalone WiFi Fadecandy server
This week, nemik posted a package for OpenWRT that makes it really easy to run the Fadecandy server on a cheap battery-powered WiFi router. I just got my router in the mail, and I recorded a quick video demo.
-
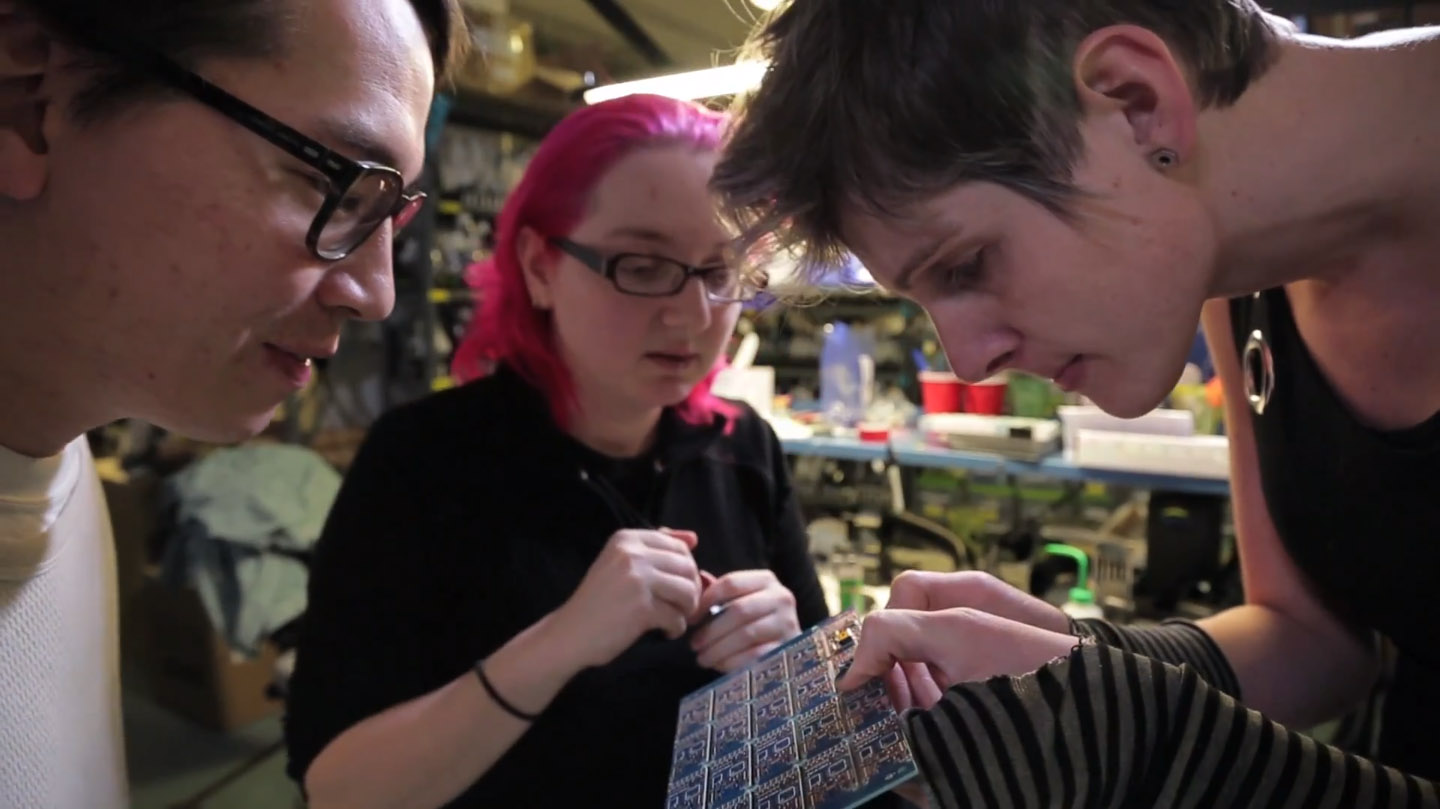
Fadecandy: How it’s made
I was at the Adafruit warehouse in Manhattan a couple weeks back, where we ran the first Fadecandy boards through their assembly line. The boards are now in the Adafruit catalog, and we made a video about the manufacturing process.
-

Presentation at GAFFTA Creative Code Meetup VII
I gave a talk at the GAFFTA Creative Code Meetup back in November. It was a brief overview of my recent work including Zen Photon Garden, High Quality Zen, the Ardent Mobile Cloud Platform, and Fadecandy. It includes a live demo of Fadecandy, starting at 18:43. Creative Code Meetup VII- Micah Elizabeth Scott from GAFFTA…
-

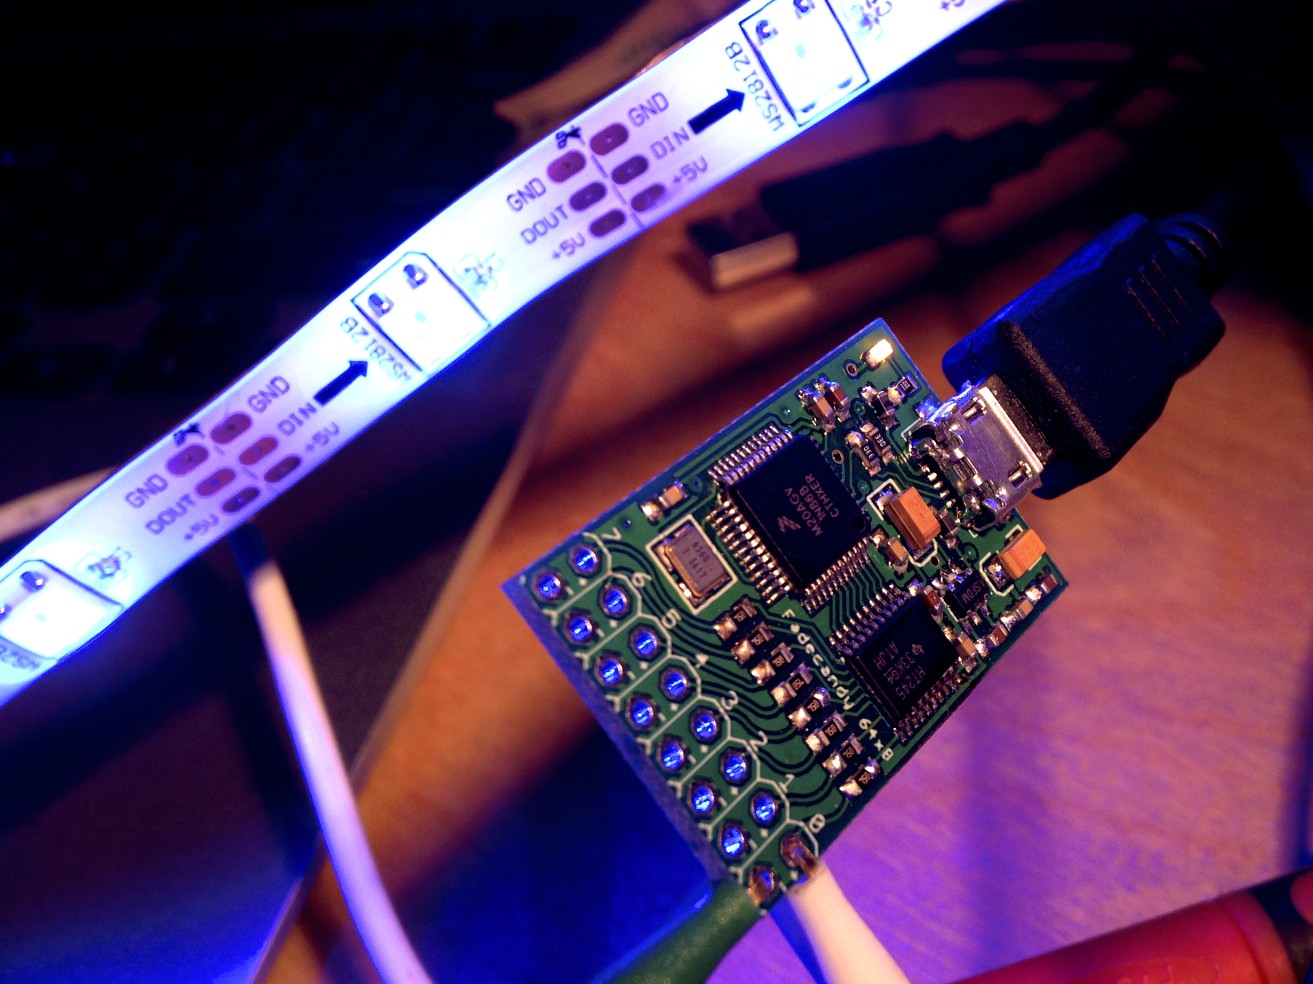
Fadecandy Controller available from Adafruit
The Fadecandy controller (initially announced here) is a new USB interface board for making more expressive art installations using the widely available WS2811 “NeoPixel” LED strips. It controls up to 8 strips of 64 LEDs, and it includes a unique dithering algorithm to help you quickly get the best quality color from each of your…
-
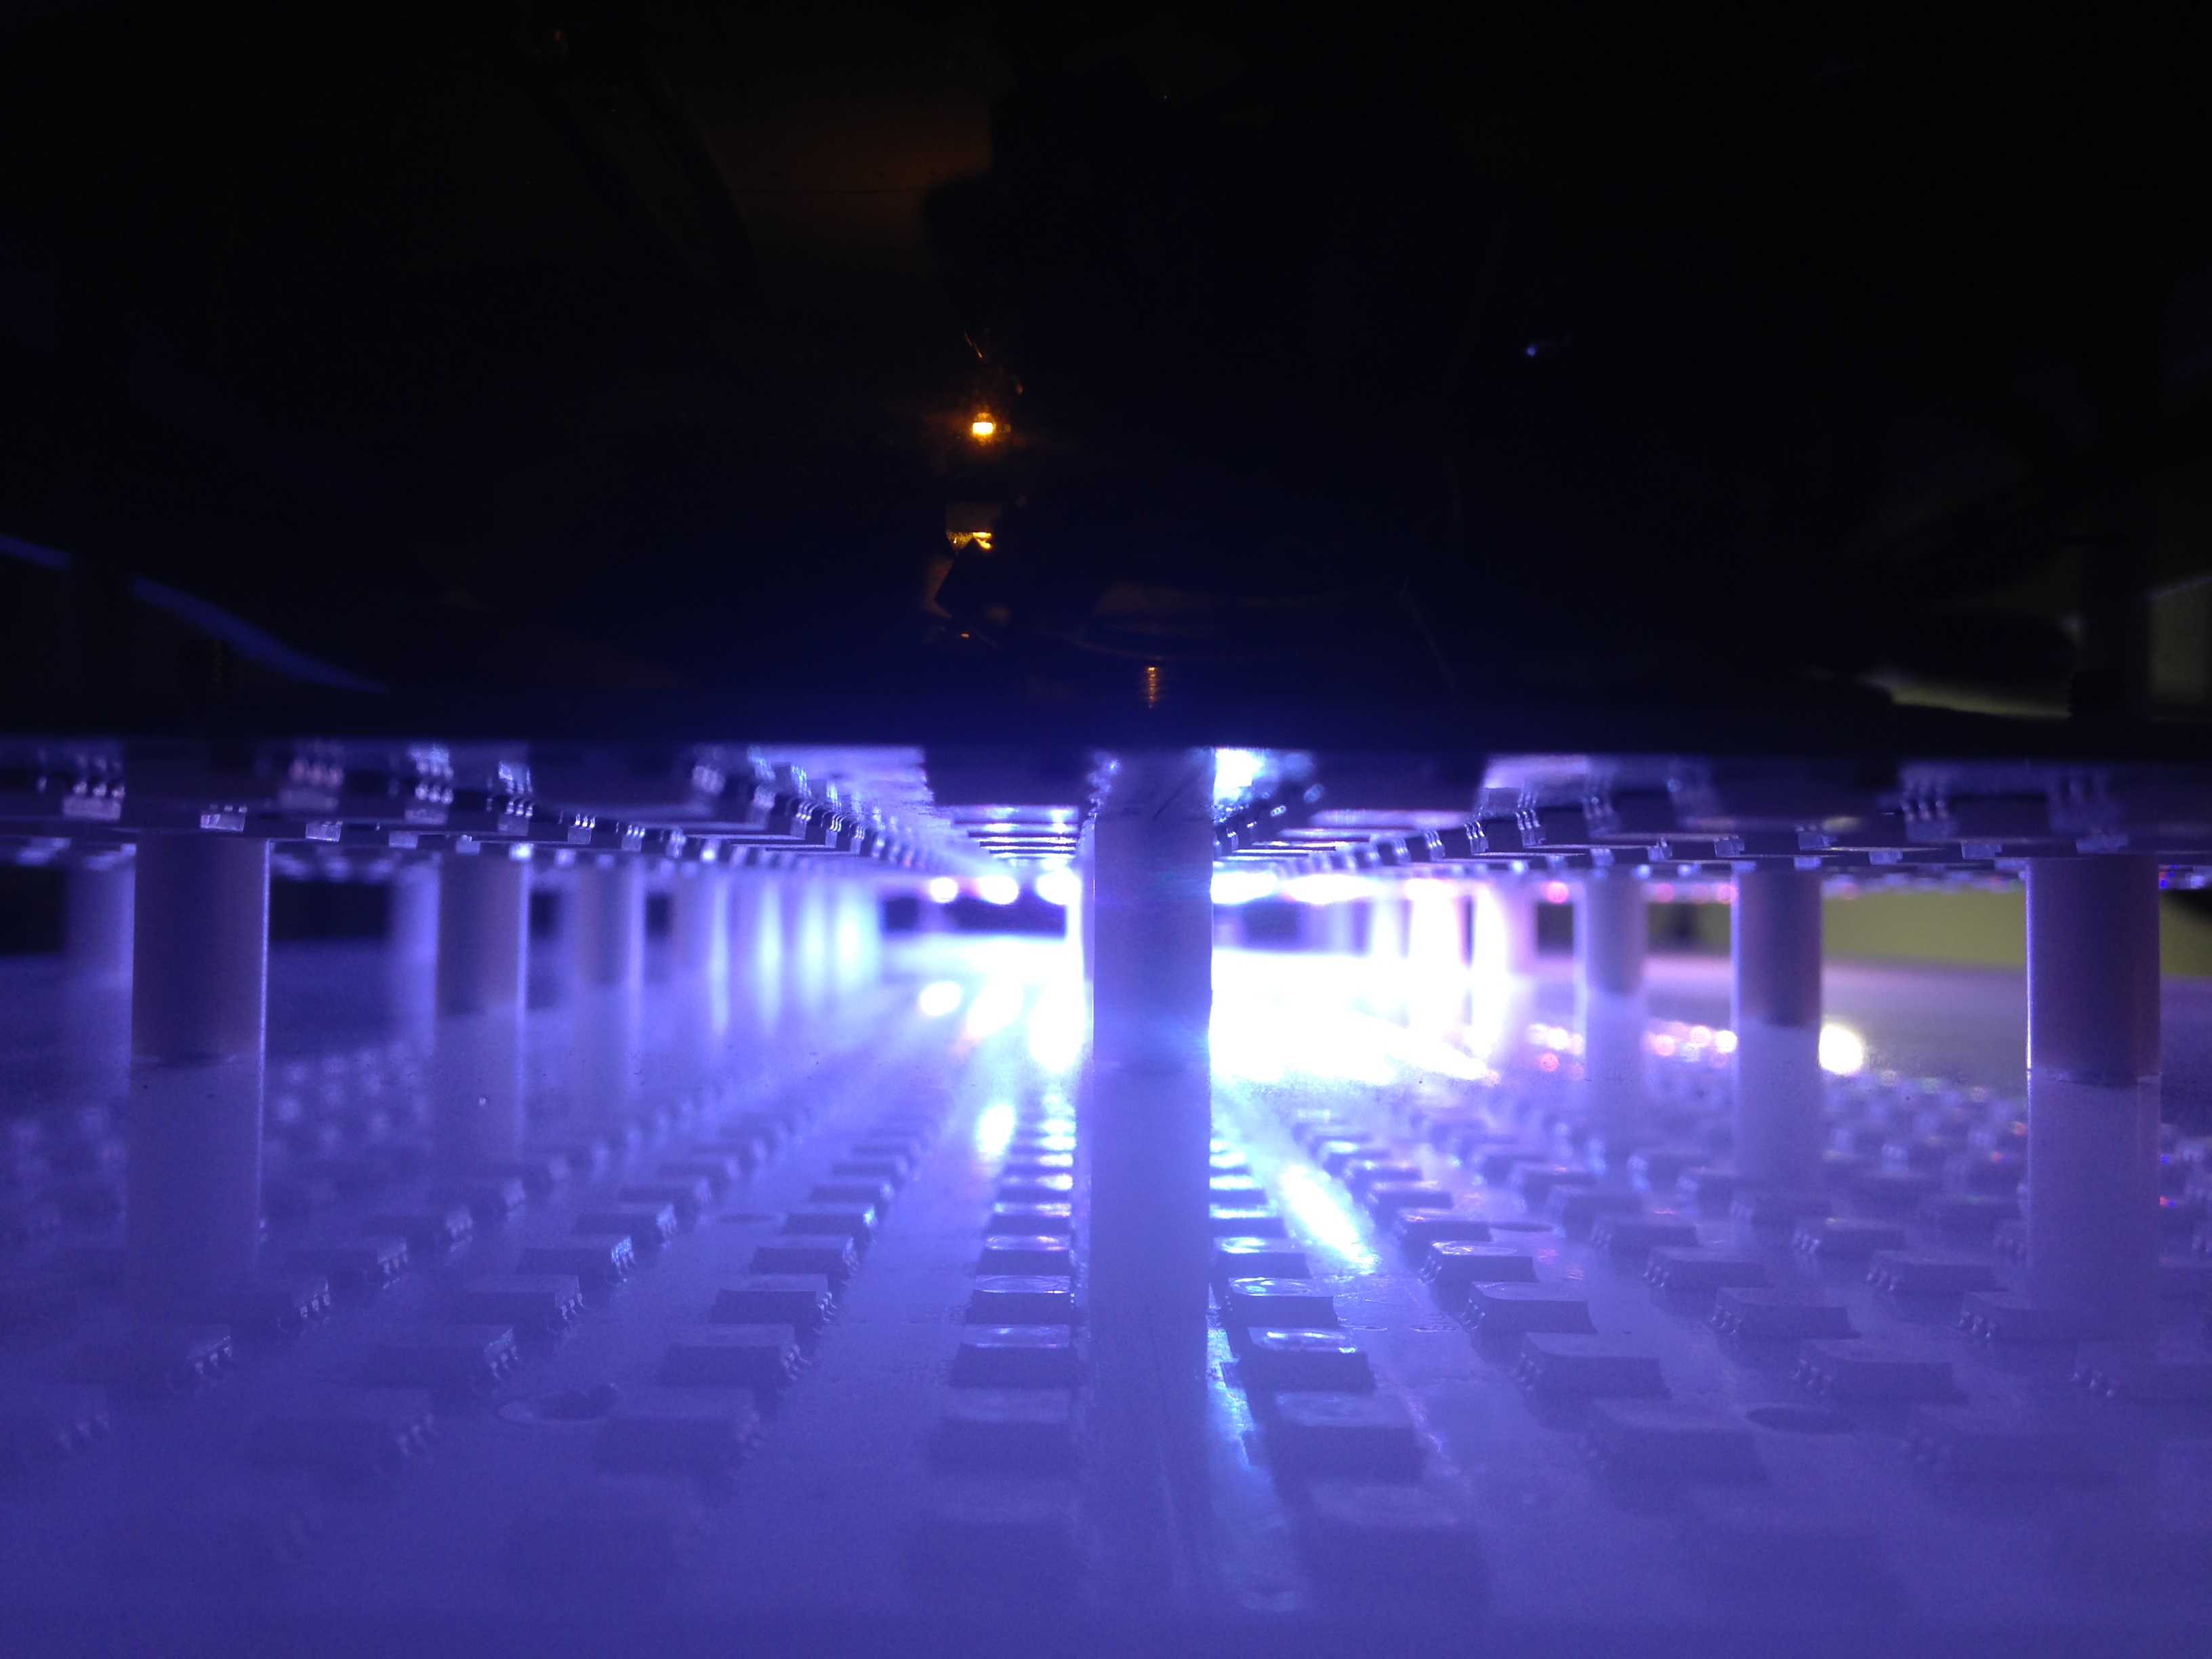
Fadecandy: Easier, tastier, and more creative LED art
I’ve been working on a project lately that I’m really eager to share with the world: A kit of hardware and software parts to make LED art projects easier to build and better-looking, so sculptors and makers and multimedia artists can concentrate on building beautiful things instead of reinventing the wheel. I call it Fadecandy.